Deploying Policies in Isaac Sim#
The objective of this tutorial is to explain the process of deploying a policy trained in Isaac Lab by going through an example and exploring robot definition files.
There are many use cases in which you might want to deploy your policy in Isaac Sim; such as enabling robots to accomplish more complex locomotions, testing and integrating the policy with other stacks such as navigation and localization in simulated environments, and interfacing it using with existing bridges such as ROS2.
Learning Objectives#
In this tutorial, you will walk through the policy based robot examples:
H1 and Spot flat terrain policy controller demo
Training and exporting policies in Isaac Lab
Reading the environment parameter file from Isaac Lab
Robot definition class
Position to torque conversion
Debugging tips
Sim to Real deployment
Demos#
Unitree H1 Humanoid Example#
The Unitree H1 humanoid example can be accessed by creating a empty stage.
Open the example menu using Isaac Examples > Humanoid.
Press LOAD to open the scene.
This example uses the H1 Flat Terrain Policy trained in Isaac Lab to control the humanoid’s locomotion.

Controls:
Forward: UP ARROW / NUM 8
Turn Left: LEFT ARROW / NUM 4
Turn Right: RIGHT ARROW / NUM 6
Boston Dynamics Spot Quadruped Example#
The Boston Dynamics Spot quadruped example can be accessed by creating a empty stage.
Open the example menu using Isaac Examples > Quadruped.
Press LOAD to open the scene.
This example uses the Spot Flat Terrain Policy trained in Isaac Lab to control the quadruped’s locomotion.

Controls:
Forward: UP ARROW / NUM 8
Backward: BACK ARROW / NUM 2
Move Left: LEFT ARROW / NUM 4
Move Right: RIGHT ARROW / NUM 6
Turn Left: N / NUM 7
Turn Right: M / NUM 9
Training and Exporting Policies in Isaac Lab#
Training#
Training the policy from Isaac Lab is the first step to deploying the policy. Consult the Isaac Lab tutorials for training an existing or custom policy.
The policies trained used in the examples above are Isaac-Velocity-Flat-H1-v0 for the Unitree H1 humanoid and Isaac-Velocity-Flat-Spot-v0 for the Boston Dynamics Spot robot.
Exporting#
Policies trained using RSL_rl, the policies can be exported using the source/standalone/workflows/rsl_rl/play.py inside the Isaac Lab workspace. The exported files are generated in the exported folder.
The exported policy files used in the demos aboves are stored on Nucleus, located at Isaac/Samples/Quadruped/H1_Policies and Isaac/Samples/Quadruped/Spot_Policies.
Note
Policy file locations are only temporary and are subject to change in a future release.
It is also possible to inference using a policy trained in a different framework or with an iteration snapshot, however additional data such as neural network structure may be required. Follow the documentation of your desired framework for more information.
Understanding the Environment Parameter File#
The agent.yaml and env.yaml are generated with trained policies to describe the policy configurations, and they are located in the logs/rsl_rl/<task_name>/<time>/params/ folder.
agent.yamldescribes the neural network parameters.env.yamldescribes the environment and robot configurations.
The below snippets are taken from Isaac-Velocity-Flat-H1-v0.
Simulation Setup#
sim:
physics_prim_path: /physicsScene
dt: 0.005
render_interval: 4
gravity: !!python/tuple
- 0.0
- 0.0
- -9.81
enable_scene_query_support: false
use_fabric: true
disable_contact_processing: true
use_gpu_pipeline: true
device: cuda:0
The first snippet describes the simulation environment, the simulation physics is required to run at 0.005s (200hz), with gravity pointing downward at 9.81m/s^2
Robot Setup#
The scene:robot:init_state section describes the robot’s initial position, orientation, velocity, as well as default joint position and velocity.
init_state:
  pos: !!python/tuple
  - 0.0
  - 0.0
  - 1.05
  rot: &id003 !!python/tuple
  - 1.0
  - 0.0
  - 0.0
  - 0.0
  lin_vel: &id001 !!python/tuple
  - 0.0
  - 0.0
  - 0.0
  ang_vel: *id001
  joint_pos:
    .*_hip_yaw: 0.0
    .*_hip_roll: 0.0
    .*_hip_pitch: -0.28
    .*_knee: 0.79
    .*_ankle: -0.52
    torso: 0.0
    .*_shoulder_pitch: 0.28
    .*_shoulder_roll: 0.0
    .*_shoulder_yaw: 0.0
    .*_elbow: 0.52
  joint_vel:
    .*: 0.0
The scene:robot:init_state:actuators section below describes the robot joint properties such as effort and velocity limit, stiffness and dampening.
actuators:
  legs:
    class_type: omni.isaac.lab.actuators.actuator_pd:ImplicitActuator
    joint_names_expr:
    - .*_hip_yaw
    - .*_hip_roll
    - .*_hip_pitch
    - .*_knee
    - torso
    effort_limit: 300
    velocity_limit: 100.0
    stiffness:
      .*_hip_yaw: 150.0
      .*_hip_roll: 150.0
      .*_hip_pitch: 200.0
      .*_knee: 200.0
      torso: 200.0
    damping:
      .*_hip_yaw: 5.0
      .*_hip_roll: 5.0
      .*_hip_pitch: 5.0
      .*_knee: 5.0
      torso: 5.0
    armature: null
    friction: null
Observations Parameters#
The observation parameters describes the observations required by the policy, as well as scale or clipping factors that need to be applied to the observation.
observations:
    policy:
        concatenate_terms: true
        enable_corruption: true
        base_lin_vel:
        func: omni.isaac.lab.envs.mdp.observations:base_lin_vel
        params: {}
        noise:
            func: omni.isaac.lab.utils.noise.noise_model:uniform_noise
            operation: add
            n_min: -0.1
            n_max: 0.1
        clip: null
        scale: null
Actions Parameters#
The actions parameters describes the action outputted by the policy, as well as scaling factors and offsets that need to be applied to the actions.
actions:
    joint_pos:
        class_type: omni.isaac.lab.envs.mdp.actions.joint_actions:JointPositionAction
        asset_name: robot
        debug_vis: false
        joint_names:
        - .*
        scale: 0.5
        offset: 0.0
        use_default_offset: true
Commands Parameters#
Finally, the command section describers the type of command for the policy, as well as acceptable command ranges for the policy.
commands:
    base_velocity:
        class_type: omni.isaac.lab.envs.mdp.commands.velocity_command:UniformVelocityCommand
        resampling_time_range: !!python/tuple
        - 10.0
        - 10.0
        debug_vis: true
        asset_name: robot
        heading_command: true
        heading_control_stiffness: 0.5
        rel_standing_envs: 0.02
        rel_heading_envs: 1.0
        ranges:
            lin_vel_x: !!python/tuple
            - 0.0
            - 1.0
            lin_vel_y: *id006
            ang_vel_z: !!python/tuple
            - -1.0
            - 1.0
            heading: !!python/tuple
            - -3.141592653589793
            - 3.141592653589793
Robot Definition Class#
The robot definition class defines the robot prim, imports the robot policy, sets up the robot configurations, builds the observation tensor, and finally applies the policy control action to the robot.
Below are snippets taken from the H1 robot definition file: source/extensions/omni.isaac.examples/omni/isaac/examples/humanoid/h1.py
Constructor#
The Constructor will spawn the robot USD, load in the policy file using the snippet below, and set up the robot and policy parameters such as default joint position, observation, and action space scaling.
file_content = omni.client.read_file(assets_root_path + "/Isaac/Samples/Quadruped/H1_Policies/h1_policy.pt")[2]
file = io.BytesIO(memoryview(file_content).tobytes())
self._policy = torch.jit.load(file)
Initialize#
The initialize function must be called once after simulation started. The purpose of this function is to match the robot configurations to the policy, by setting the robot effort mode, control mode, joint gains, joint max effort, and joint max velocity.
_compute_observation#
This function is called by advance() during every physics step. The purpose of this function is to create an observation tensor in the format expected by the policy. For example, the code snippet below creates the observation tensor for the H1 flat terrain policy.
obs = np.zeros(69)
# Base lin vel
obs[:3] = self._base_vel_lin_scale * lin_vel_b
# Base ang vel
obs[3:6] = self._base_vel_ang_scale * ang_vel_b
# Gravity
obs[6:9] = gravity_b
# Command
obs[9] = self._base_vel_lin_scale * command[0]
obs[10] = self._base_vel_lin_scale * command[1]
obs[11] = self._base_vel_ang_scale * command[2]
# Joint states
current_joint_pos = self.get_joint_positions()
current_joint_vel = self.get_joint_velocities()
obs[12:31] = current_joint_pos - self._default_joint_pos
obs[31:50] = current_joint_vel
# Previous Action
obs[50:69] = self._previous_action
Note
Remember to multiply the observation terms by the observation scale specified in the env.yaml.
Advance#
This function is called every physics step to generate control action for the robot.
if self._policy_counter % 4 == 0:
    obs = self._compute_observation(command)
    with torch.no_grad():
        obs = torch.from_numpy(obs).view(1, -1).float()
        self.action = self._policy(obs).detach().view(-1).numpy()
    self._previous_action = self.action.copy()

action = ArticulationAction(joint_positions=self._default_joint_pos + (self.action * self._action_scale))
self.apply_action(action)

self._policy_counter += 1
Note
The policy does not need to be called every step, refer to the decimation parameter in
env.yaml.Remember to multiply the action output by the action scale specified in
env.yaml.
Warning
For position based controls, do not use set_joint_position() as that will teleport the joint to the desired position.
Position to Torque Controls#
Some robots may require torque control as output. If the policy generates position as an output, then you must convert position to torque. There are many ways to do this, here an actuator network is used to convert position to torque.
The actuator network is defined in source/extensions/omni.isaac.quadruped/omni/isaac/quadruped/utils/actuator_network.py.
Note
Isaac Sim is undergoing refactoring and this file may be moved to a different location in the next release.
Import Policy#
For our LSTMSeaNetwork implementation, the policy file is loaded into the helper actuator network using the snippet below:
file_content = omni.client.read_file(
    assets_root_path + "/Isaac/Samples/Quadruped/Anymal_Policies/sea_net_jit2.pt"
)[2]
file = io.BytesIO(memoryview(file_content).tobytes())
self._actuator_network = LstmSeaNetwork()
self._actuator_network.setup(file, self._default_joint_pos)
self._actuator_network.reset()
Run the Actuator Network#
In the advance function, insert the position outputs from the locomotions policy into the actuator network and apply the torque to the robot using the snippet below:
current_joint_pos = self.get_joint_positions()
current_joint_vel = self.get_joint_velocities()

joint_torques, _ = self._actuator_network.compute_torques(
    current_joint_pos, current_joint_vel, self._action_scale * self.action
)

self.set_joint_efforts(joint_torques)
Debugging Tips#
If your robot doesn’t work right away, you can use the following tips to start debugging:
Verify Your Policy#
You can start by verifying that your policy is working properly by playing it in Isaac Lab.
Remember to use the correct play.py for your workflow and select the correct task.
Verify the Robot Joint Properties#
Robot Joint Order#
If the policy is working on Isaac Lab, then you should verify is the joint order of the robot, joint properties, and default joint positions.
To see the joint order, open your asset USD, create an articulation with the robot prim, start the simulation, initialize articulation, and call the dof_names function.
# Open your USD and PLAY the simualtion before running this snippet
prim = Articulation(prim_path=<your_robot_prim_path>)
prim.initialize()
print(str(prim.dof_names))
Print out the dof_names for both the Isaac Sim asset and the asset you used to train in Isaac Lab, make sure that the names and orders match exactly.
The Anymal robot below has control commands in the wrong order, as a result the robot is falling over.

Default Joint Position#
After you have the joint positions, verify that your default joint positions are inserted correctly. If the joint positions are incorrect, the robot joints will not go to the correct position.
For example, in the video below, the ankle joint was set incorrectly and the H1 humanoid was tippy-toeing, doing a “moonwalk”.

Robot Joint Properties#
If you observe the joints are moving too much or not enough, then the joint properties may not be set up correctly.
# Open your USD and PLAY the simualtion before running this snippet
prim = Articulation(prim_path=<your_robot_prim_path>)
prim.initialize()
print(str(prim.dof_properties))
Then, you can compare the joint properties with the env YAML file generated by Isaac Lab. Check the articulation API documentation for the properties for the DOFs.
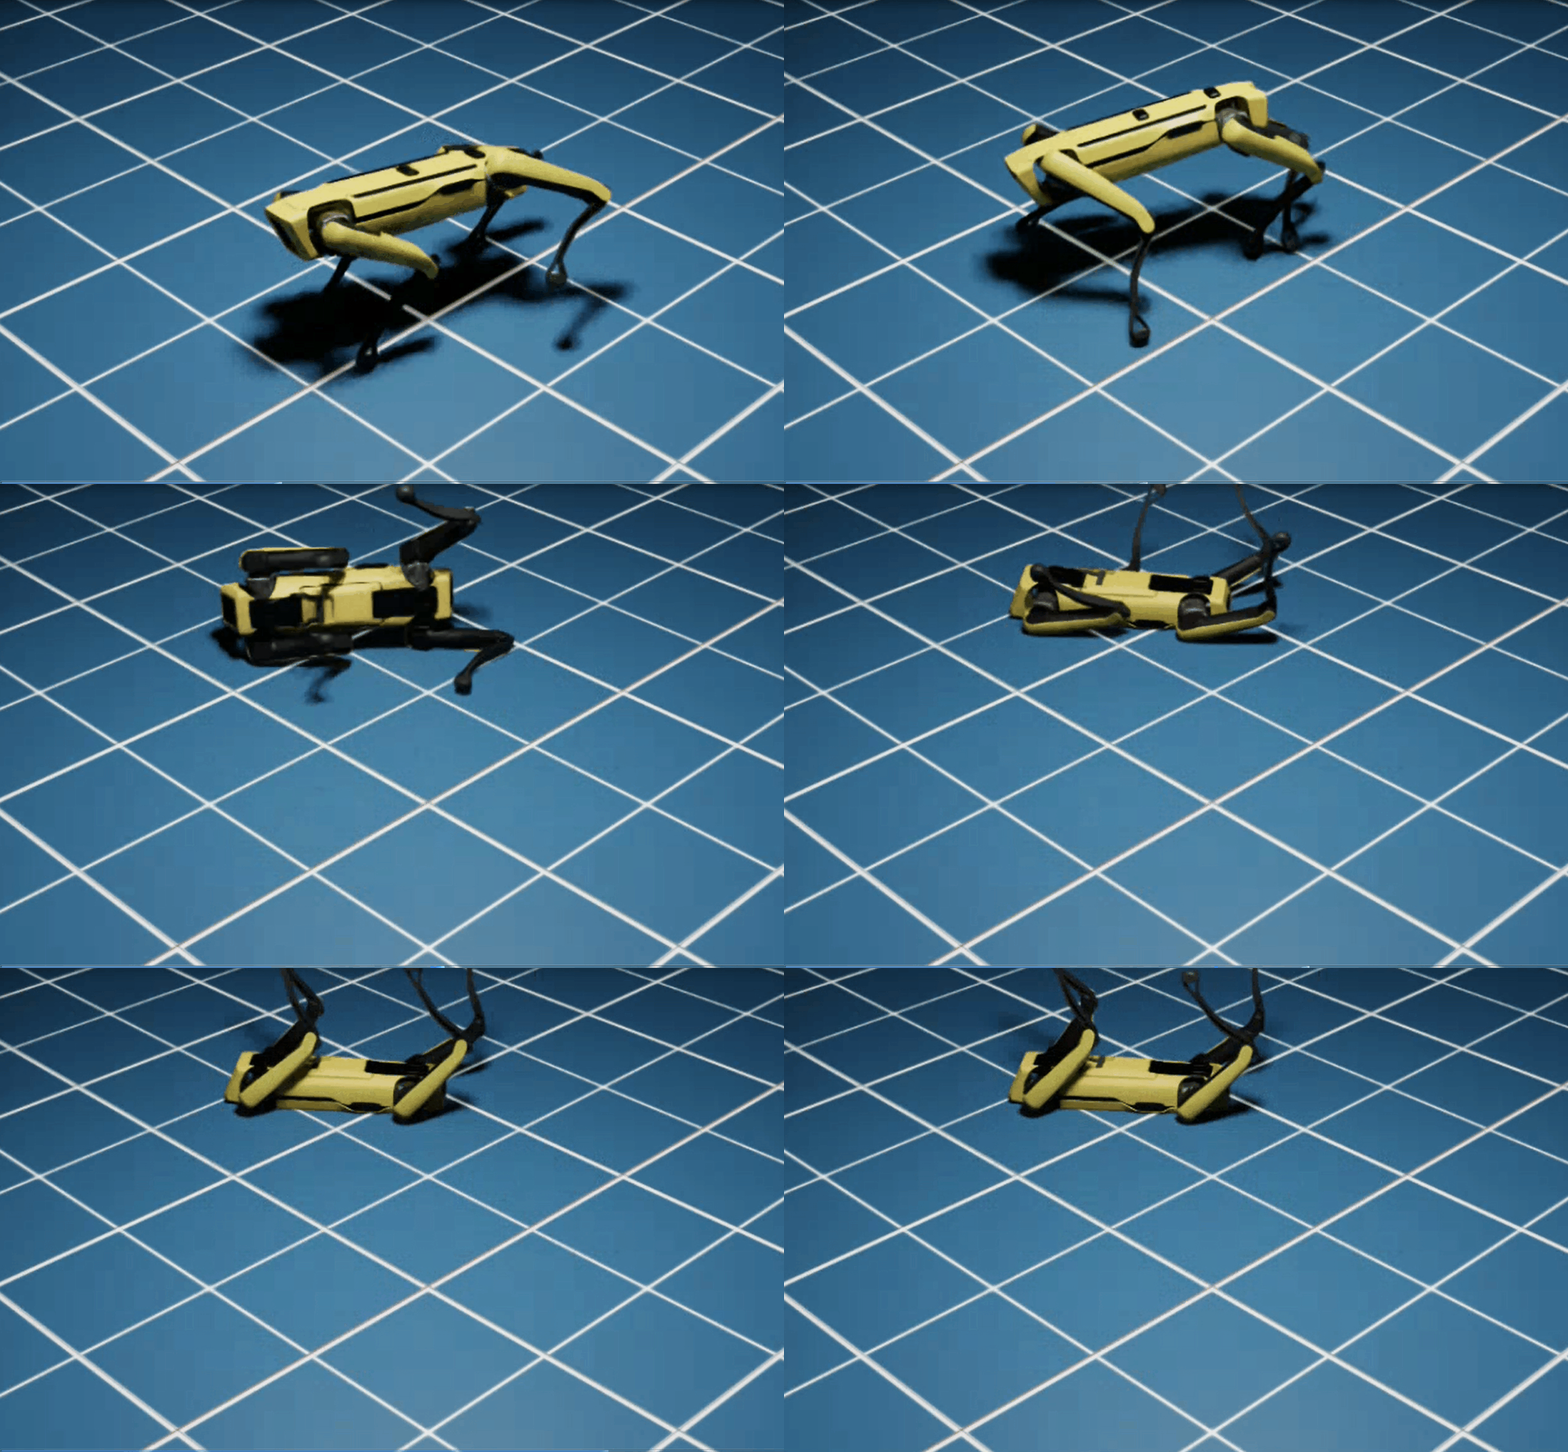
For example, in the video below, the spot robot’s stiffness and dampening are set too high, resulting in underactuated movement.

For example, in the video below, the H1 robot’s arm stiffness and dampening are set too low, resulting in over movement.

Verify the Simulation Environment#
If the robot matches exactly and the inference examples are still not working, then it’s time to check the simulation parameters.
Physics Scene#
Physics scene describes the time stepping with Time Steps Per Second (Hz), so take the inverse of the dt parameter in the env.yaml and set this correctly.
Also match the physics scene properties with the physx section of the env.yaml file.
For example, in the video below, time step was set to 60Hz, instead of the 500Hz expected by the controller.

Verify the Observation and Action Tensor#
Finally, verify the observation and action tensors, and make sure your tensor structures are correct, the data passed in to the tensors are correct, and the correct scale factors are applied to the input and outputs.
Also, make sure the actions output from the policy matche the expected type of inputs of articulation and are in the correct order to correctly power the robot.
Sim To Real Deployment#
Congratulations, your robot and policy are working correctly in Isaac Sim now and you have tested it with the rest of your stack. Now it’s time to deploy it on a real robot.
Please read this article on deploying an reinforcement learning policy to a spot robot.