Using Sensors: IMU#
Learning Objectives#
This tutorial introduces how to use an IMU for sensing an environment in Omniverse Isaac Sim. After this tutorial, you will know how to add an IMU sensor to the scene, activate it, and measure acceleration, angular velocity, and orientations in a scene.
10-15 Minute Tutorial
Getting Started#
Prerequisites
Review the Core Tutorial series and IMU GUI example prior to beginning this tutorial.
This tutorial demonstrates how to integrate the IMU sensor into an Omniverse Isaac Sim simulation, by going over the three methods to create an IMU sensor, the methods to set IMU sensor properties and read IMU sensor data, and finally the omnigraph nodes for reading IMU sensor data and visualizing IMU sensor pose.
IMU Sensor Properties
enabledparameter determines if the sensor is running or notesensor periodparameter specifies the time inbetween sensor measurement. A sensor period that’s lower than the physics delta time will always output the latest physics data. The sensor frequency cannot go beyond the physics frequency.angularVelocityFilterWidthparameter species the size of the angular velocity rolling average. Increase this parameter will result in smoother angular velocity outputlinearAccelerationFilterWidthparameter species the size of the linear acceleration rolling average. Increase this parameter will result in smoother linear acceleration outputorientationFilterWidthparameter species the size of the orientation rolling average. Increase this parameter will result in smoother orietnation output
The size of the data buffer used in interpolation is 2 times the max of the filter width or 20, whichever is greater
Creating and Modifying the IMU#
Using the GUI
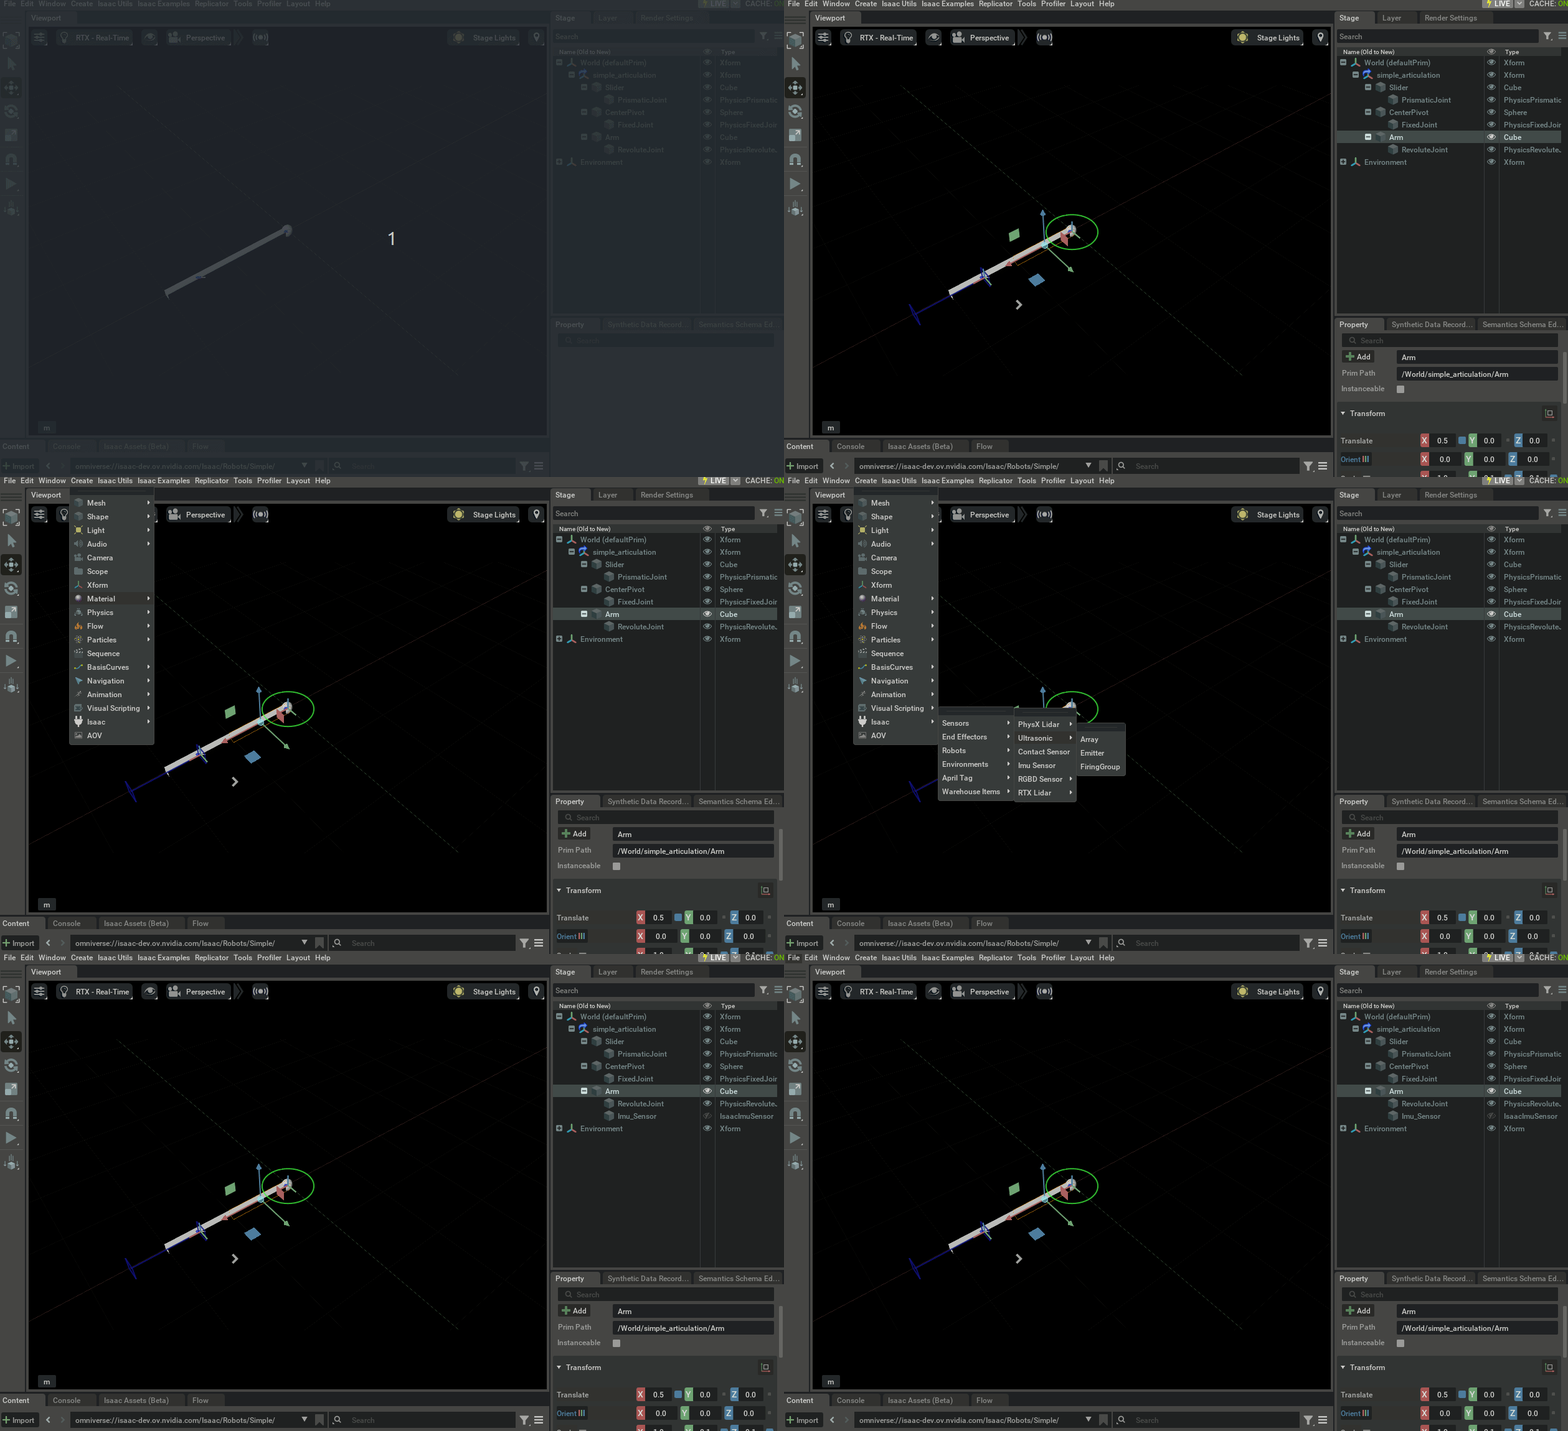
To create a Physics Scene, go to the top Menu Bar and Click Create > Physics > Physics Scene. There should now be a
PhysicsScenePrim in the Stage panel on the right.To create an IMU, first left click on the prim to attach the IMU on the stage, then go to the top Menu Bar and Click Create > Isaac > Sensors > Imu Sensor.
To change the position and orientation of the IMU, left click on the Imu_Sensor prim, then modify the Transform properties under the Property tab.
To change other IMU properties, expand the Raw USD Properties section, and properties such as filter width, enable/disable sensor, and sensor period will be available to modify.

Using Python Command
IMU can also be created via python using the command call with the available parameters to set below. The only required parameters are the parent path, and everything else can be filled with default values.
 1import omni.kit.commands
 2from pxr import Gf
 3
 4success, _isaac_sensor_prim = omni.kit.commands.execute(
 5    "IsaacSensorCreateImuSensor",
 6    path="imu_sensor",
 7    parent="/World/Cube",
 8    sensor_period=1,
 9    linear_acceleration_filter_size=10,
10    angular_velocity_filter_size=10,
11    orientation_filter_size=10,
12    translation = Gf.Vec3d(0, 0, 0),
13    orientation = Gf.Quatd(1, 0, 0, 0),
14)
Using Python Wrapper
The IMU can also be created using a python wrapper class. The benefit of using a wrapper class is it come with additional helper functions to set the IMU properties and retrieve IMU data.
 1from omni.isaac.sensor import IMUSensor
 2import numpy as np
 3
 4IMUSensor(
 5    prim_path="/World/Cube/Imu",
 6    name="imu",
 7    frequency=60,
 8    translation=np.array([0, 0, 0]),
 9    orientation=np.array([1, 0, 0, 0]),
10    linear_acceleration_filter_size = 10,
11    angular_velocity_filter_size = 10,
12    orientation_filter_size = 10,
13)
Note
Translation and Position cannot both be defined, frequency and dt also cannot both be defined.
To modify sensor parameters, you can use build in class api calls such as set_frequency, set_dt, or usd attribute api calls.
Reading Sensor Output#
The sensors are created dynamically on PLAY. Moving the sensor prim while the simulation is running will invalidate the sensor. If you need to make hierarchical changes to the IMU like changing its rigid body parent, please stop the simulator, make the changes, and then restart the simulation.
There are also three methods for reading the sensor output: using get_sensor_reading() in the sensor interface, get_current_frame() in the IMU Python class, and the omnigraph node Isaac Read IMU Node
get_sensor_reading(sensor_path, interpolation_function = None, use_latest_data = False, read_gravity = True)
The get_sensor_reading function takes in three parameters: the prim_path to any IMU sensor prim, an interpolation function (optional) to use in place of the default linear interpolation function, and the useLatestValue flag (optional) for retrieving the data point from the current physics step if the sensor is running at a slower rate than physics rate
The function will return an IsSensorReading object which has is_valid, time, lin_acc_x, lin_acc_y, lin_acc_z, ang_vel_x, ang_vel_y, ang_vel_z, and orientation properties.
Sample usage to get the reading from the current physics step with gravitational effects:
1from omni.isaac.sensor import _sensor
2
3_imu_sensor_interface = _sensor.acquire_imu_sensor_interface()
4_imu_sensor_interface.get_sensor_reading("/World/Cube/Imu", use_latest_data = True, read_gravity = True)
Sample usage with custom interpolation function without gravitational effects:
 1from omni.isaac.sensor import _sensor
 2from typing import List
 3
 4# Input Param: List of past IsSensorReadings, time of the expected sensor reading
 5def interpolation_function(data:List[_sensor.IsSensorReading], time:float) -> _sensor.IsSensorReading:
 6    interpolated_reading = _sensor.IsSensorReading()
 7    # do interpolation
 8    return interpolated_reading
 9
10
11_imu_sensor_interface = _sensor.acquire_imu_sensor_interface()
12_imu_sensor_interface.get_sensor_reading("/World/Cube/Imu", interpolation_function=interpolation_function, read_gravity = False)
Note
When custom interpolation used and read gravity flag is enabled, the sensor will pass raw acceleration measurements to the custom interpolation function and apply gravitational transforms after.
get_current_frame(read_gravity = True)
The get_current_frame() function is a wrapper around get_sensor_reading(path_to_current_sensor) function and a member function of the IMU class. This function returns a dictionary with lin_acc, ang_vel, orientation, time, and physics_step as keys for the Contact measurement.
The get_current_frame() function uses the default parameters of get_sensor_reading, so it utilizes linear interpolation and last sensor reading at reading time.
Sample usage:
 1from omni.isaac.sensor import IMUSensor
 2import numpy as np
 3
 4sensor = IMUSensor(
 5    prim_path="/World/Cube/Imu",
 6    name="imu",
 7    frequency=60,
 8    translation=np.array([0, 0, 0]),
 9    orientation=np.array([1, 0, 0, 0]),
10    linear_acceleration_filter_size = 10,
11    angular_velocity_filter_size = 10,
12    orientation_filter_size = 10,
13)
14
15value = sensor.get_current_frame()
16print(value)
Isaac Read IMU Node
For reading IMU data using the Omnigraph, see this tutorial: IMU Sensor Node.
Visualizing Sensor#
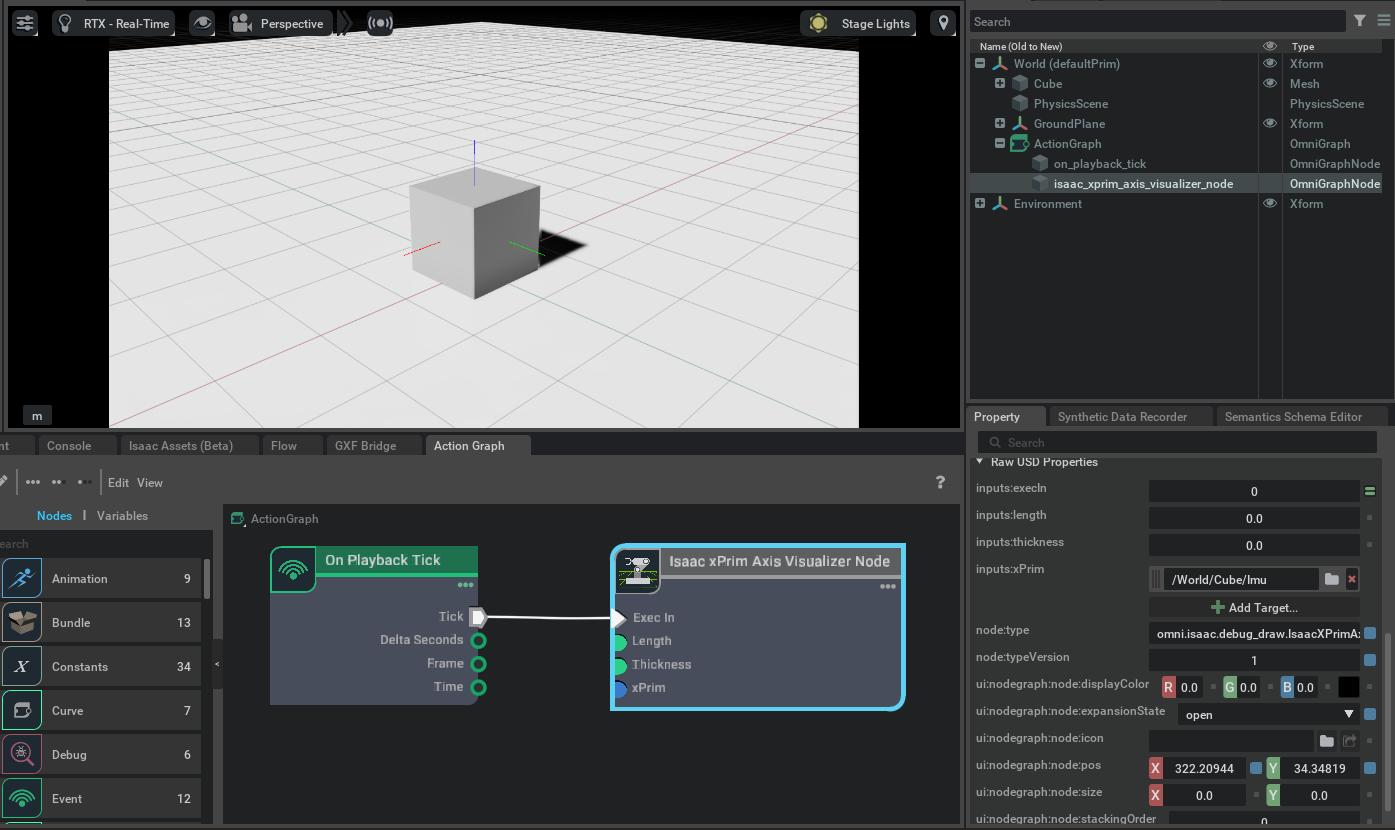
The IMU sensor position and orientation can be visualized using the Isaac xPrim Axis Visualizer Node. Simply connect the xPrim input to the IMU Sensor Prim, connect Tick to Exec in and configure the desired axis length and thickness visualization, and the IMU sensor will be visible on PLAY.

API Documentation#
See the API Documentation for complete usage information.