Front End Setup#

Front End Setup#
Open a new terminal window to begin configuring the front end. Execute all the following commands within that window:
Install Node.js and npm on the Linux host#
sudo apt install -y ca-certificates curl gnupg
sudo mkdir -p /etc/apt/keyrings
curl -fsSL https://deb.nodesource.com/gpgkey/nodesource-repo.gpg.key | sudo gpg --yes --dearmor -o /etc/apt/keyrings/nodesource.gpg
NODE_MAJOR=20
echo "deb [signed-by=/etc/apt/keyrings/nodesource.gpg] \
https://deb.nodesource.com/node_$NODE_MAJOR.x nodistro main" \
sudo tee /etc/apt/sources.list.d/nodesource.list
sudo apt -y update
sudo apt -y install nodejs
sudo apt install npm
Execute the following commands to confirm that the installation was successful:
node --version
npm --version
Note
This document has been validated with the following node and NPM versions:
node: v20.18.1
npm: 10.8.2
Install the Sample Dependencies#
In an earlier step, the Git repository containing all essential scripts for streamlining this process was cloned locally.
Utilize the sample directory named web for this setup:
cd web

npm install
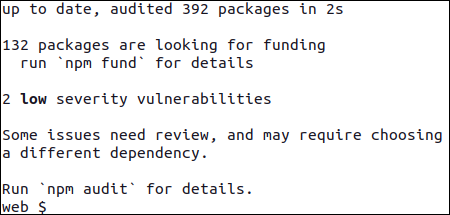
If npm installs successfully, you should see output similar to the example below:
Validate Installed Dependencies#
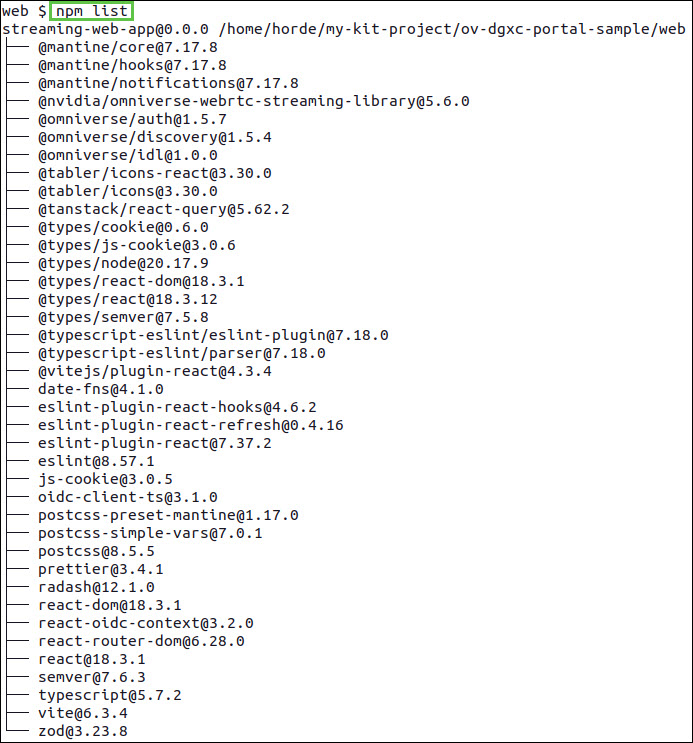
Use the npm list command to view all currently installed libraries:
npm list
Configure the Front End Sample#
Inside the same web directory, create a folder named config and add a file called main.json inside it:
mkdir -p ./public/config
touch ./public/config/main.json
Modify the file to include the necessary configuration details, ensuring that all placeholders enclosed in angle brackets <> are replaced with the appropriate user-specific values:
cat << 'EOF' | sudo tee ./public/config/main.json
{
 "auth": {
       "authority": "<authority domain name>",
       "clientId": "<client id>",
       "redirectUri": "https://<customer domain>/openid",
       "metadataUri": "https://<customer domain>/.well-known/openid-configuration",
       "scope": "openid profile email <something for authZ>"
 },
 "endpoints": {
       "backend": "https://<customer domain>/api",
       "nucleus": "<address of Nucleus server>"
 },
 "sessions":  {
    "maxTtl": 28800,
    "sessionEndNotificationTime": 600,
    "sessionEndNotificationDuration": 30
 }
}
EOF
FIELD |
EXAMPLE ENTRY |
EXPLANATION |
|---|---|---|
authority |
https://auth.keycloak.com/realms/ovc-auth/protocol/openid-connect/auth |
This is NOT the OIDC authorization endpoint. This is a URL that if suffixed by |
clientID |
portal-sample-auth |
A public identifier for applications that use the OIDC protocol for authentication and authorization of the OVC application. |
redirectUri |
https://myovc.com/openid |
This is the URL that redirects openID requests to the OIDC server. It will have the domain name of the portal. |
scope |
openid profile email group |
This is a free form field to take text. |
backend |
https://myovc.com/api |
This is the URL that will redirect the inbound API calls to the NVCF backend. |
nucleus |
nucleus-server.com |
This is the URL that will point to the Nucleus server. This must match the same Nucleus server that was configured during the function creation step. |
Verify Front End Sample Configurations#
Confirm that the configuration settings have been applied successfully:
cat public/config/main.json
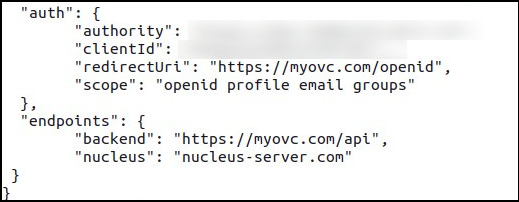
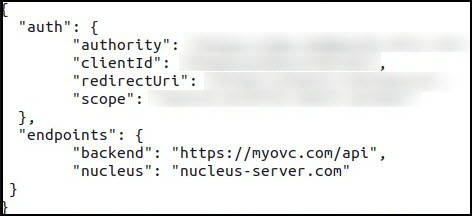
The following example illustrates how the final configuration should appear:
Performance Optimizations for Front End#
Once the certificate setup and front end sample configuration is complete, generate the npm run build command to compile the project and bundle all dependencies. To optimize the front end for streaming, incorporate the npm build directories into the NGINX configuration.
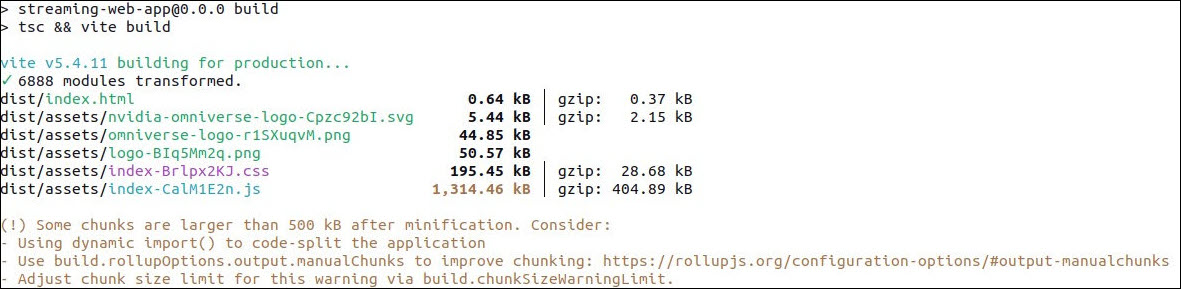
npm run build
The output should look similar to the example below:
Copy the build configurations to NGINX directory using the command below:
sudo cp -r <PATH_TO_DIR>/ov-dgxc-portal-sample/web/dist/* /usr/share/nginx/html/
Ensure that the configuration file is properly maintained and reflects the most up-to-date settings:
cat /usr/share/nginx/html/config/main.json
The output should look similar to the example below:
To optimize the nginx.conf file to serve compiled portal assets efficiently, the configuration has settings for increased buffer sizes, optimized client request sizes, and header limits.
Run the entire command listed below to create an NGINX configuration:
cat << 'EOF' | sudo tee /etc/nginx/nginx.conf
user www-data;
worker_processes auto;
pid /run/nginx.pid;
#include /etc/nginx/modules-enabled/*.conf;

events {
       worker_connections 16384;
       # multi_accept on;
}

http {

       include /etc/nginx/mime.types;
       disable_symlinks off;

       client_max_body_size 32m;
       client_body_buffer_size 128k;
       client_header_buffer_size 5120k;
       large_client_header_buffers 16 5120k;

       server {
       listen 443 ssl;

       ssl_certificate /etc/nginx/certs/cert.pem;
       ssl_certificate_key /etc/nginx/certs/key.pem;

       server_name _;

       location = /api {
               return 302 /api/;
   }
   location /api/ {
       proxy_pass http://127.0.0.1:8000/api/;
       proxy_http_version 1.1;
       proxy_read_timeout 60s;
       proxy_set_header Upgrade $http_upgrade;
       proxy_set_header Connection "upgrade";
       proxy_set_header Host $http_host:8000;
   }

   location / {
        root /usr/share/nginx/html;
        index  index.html;
        try_files $uri $uri/ /index.html;
  }
  }
        log_format upstreamlog '[$time_local] $remote_addr - $remote_user -
$server_name $host to: $upstream_addr: $request $status upstream_response_time
$upstream_response_time msec $msec request_time $request_time';
       access_log /var/log/nginx/access.log upstreamlog;
       error_log /var/log/nginx/error.log warn;
}
EOF
Restart NGINX:
sudo systemctl restart nginx
We compiled the npm dependencies, and optimized our NGINX proxy for streaming. This concludes the Front End setup. Next, you’ll learn to configure the back end.