Developing and Containerizing Apps#
Overview#
The information below explains the process of developing and containerizing Omniverse Kit Applications using Kit App Template.
Prerequisites#
Linux workstation equipped with a GPU and Docker
Installation of the NVIDIA Container Toolkit
Procedure#
This guide outlines two methods for building your Omniverse Kit Application, both of which are detailed below:
Download the Omniverse Kit SDK - Production Branch from NGC
Note
The Omniverse Kit SDK available on NGC is the officially supported approach for building Omniverse Kit Applications, offering enterprise entitlement and support. Alternatively, you can clone the Kit App Template for development and testing purposes.
Download the Omniverse Kit SDK#
The Omniverse on DGX Cloud supported version of the Omniverse Kit SDK is 106.5.5 or greater.
Use the NGC CLI to retrieve this archive:
ngc registry resource download-version "nvidia/omniverse/kit-sdk-linux-pb24h2:106.5.5"
Note
This command may vary based on the version of Kit preferred.
Unzip Omniverse Kit SDK#
To extract the Omniverse Kit SDK, execute the following commands:
cd kit-sdk-linux-pb24h2_v106.5.5/

unzip kit-sdk-public@106.5.5*
Create a Build Directory for Omniverse Kit SDK#
The Omniverse Kit SDK must target a directory where the build scripts will be installed. These steps are outlined on the Omniverse Kit SDK registry page.
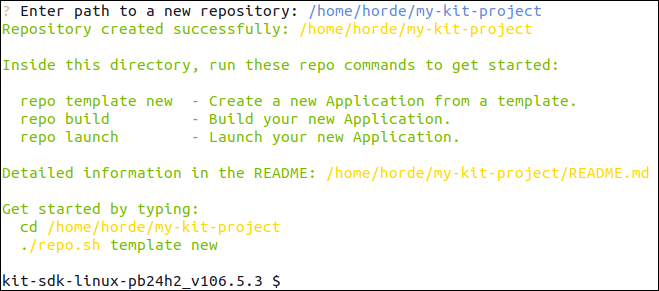
To create the new project directory, run the following commands:
./new_project.sh
Validate Build Directory for Omniverse Kit SDK#
After selecting ./new_project.sh, you will be prompted to accept the EULA and specify a folder where the build tools will be created:
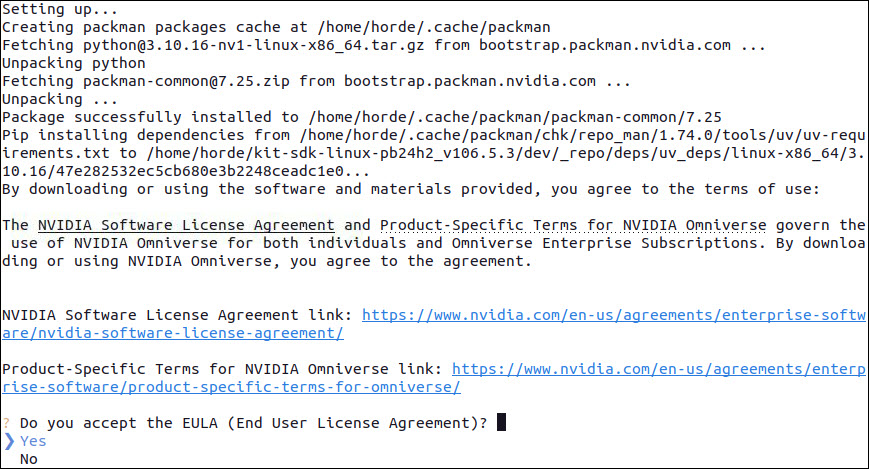
Select Yes using the arrow keys, and press Enter to accept the EULA and the Kit extraction should begin:

You should see a similar output. Press Enter to proceed:
Create a New Application from Template#
All commands in this section should be executed within the build directory created in <PATH_TO_DIR>/my-kit-project.
From the base repository for project development, run ./repo.sh template new to generate a new templated Kit application.
Note
If using the Kit App Template, begin starting at this step. Kit App Template is not supported and is only meant for development purposes and ease of use.
From the base repository for project development, run ./repo.sh template new to generate a new templated Kit application using the commands below:
cd my-kit-project
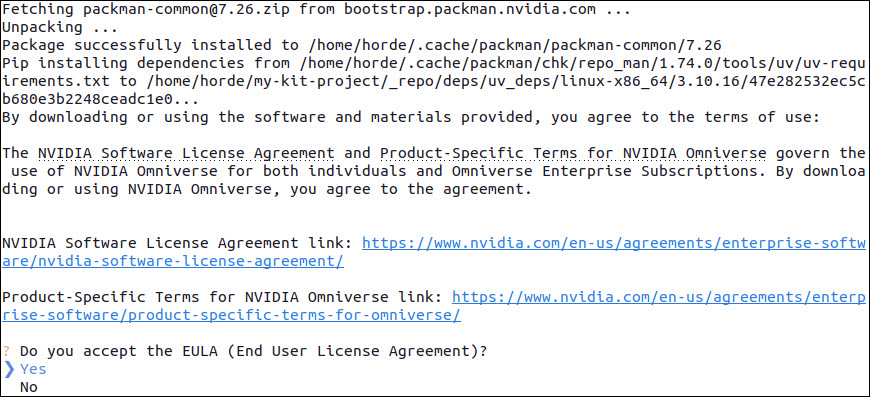
./repo.sh template new
Select Yes and press Enter to accept the EULA:
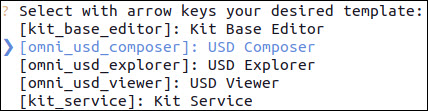
Select the option corresponding to the software you want to create. For this example, Application is selected:

Select a template for the Application you want to create. For this example, USD Composer is selected:
Enter a name for your new application .kit file or press Enter to accept the default file name:

Enter an application display name for your new application display name or press Enter to accept the default display name:

Press Enter to proceed:

Type a name for the setup extension or press Enter to accept the default name:

Type an extension display name for the setup extension display or press Enter to accept the default name:

Press Enter to proceed:
The output should look similar to the following:

Replace Streaming Extension#
The default Kit App Template will need to be modified to use extensions that allow streaming on NVCF. To enable the correct extension, edit this file:
./source/apps/my_company.my_usd_composer_ovc.kit
Edit this section with the following:
[dependencies]
"my_company.my_usd_composer" = {}  # Application kit file
#"omni.kit.livestream.webrtc" = {}  # Livestream extension
"omni.services.livestream.nvcf" = {}   # Corrected Livestream extension
"omni.kit.streamsdk.plugins" = {version="6.6.0"} # Corrected Livestream dependency
Before:

After:

Limit Kit Threads#
For optimal performance, limit Kit threads to 16 by adding the following arguments into the .kit file:
--/plugins/carb.tasking.plugin/threadCount=16
--/plugins/omni.tbb.globalcontrol/maxThreadCount=16
Warning
Kit-based Applications may not perform optimally if the thread count is not limited to 16!
Enabling Crash Reporting#
While optional, adding the following arguments into the .kit file will enable NVIDIA to receive diagnostic crash information should a problem with your application occur. This crash information is anonymized and does not include any company or personally identifiable information:
--/privacy/extraDiagnosticDataOptIn=externalBuilds
--/crashreporter/url=https://services.nvidia.com/submit
Build the Kit App#
Build the application using ./repo.sh build -u. This will create a new local folder called ./source containing all the build targets.
Invoke this command to build the Kit App:
./repo.sh build -u
Validate the Kit App Build#
Review the ./source/apps/my_company.my_usd_composer_ovc.kit file, including the section where extension versions are enabled.
Invoke this command to validate the Kit App Build:
cat source/apps/my_company.my_usd_composer_ovc.kit
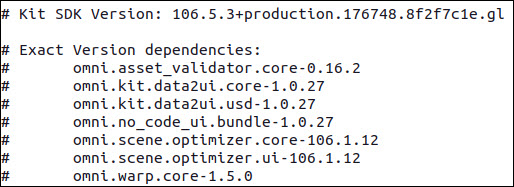
Look for the following extensions and versions to be set. These are the extensions and versions required for proper functionality:
Note
The following extensions may not populate:
omni.kit.livestream.core-6.5.0
omni.kit.livestream.webrtc-6.5.0
To see if these extensions are loaded, you can view them in the logs by running
./repo.sh build -u
Validate Locally#
Launch the application to test it:
./repo.sh launch
Use the down arrow to select the application that was built and edited previously. It will be the one that includes the _ovc.kit suffix:

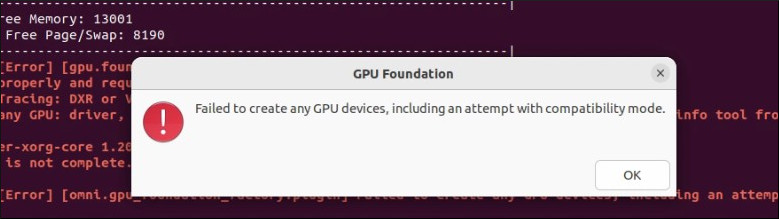
Note
If your workstation lacks a GPU, the application will be unable to launch.
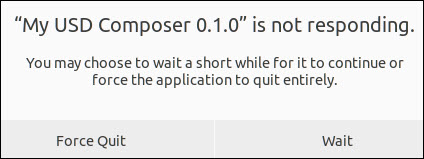
Note
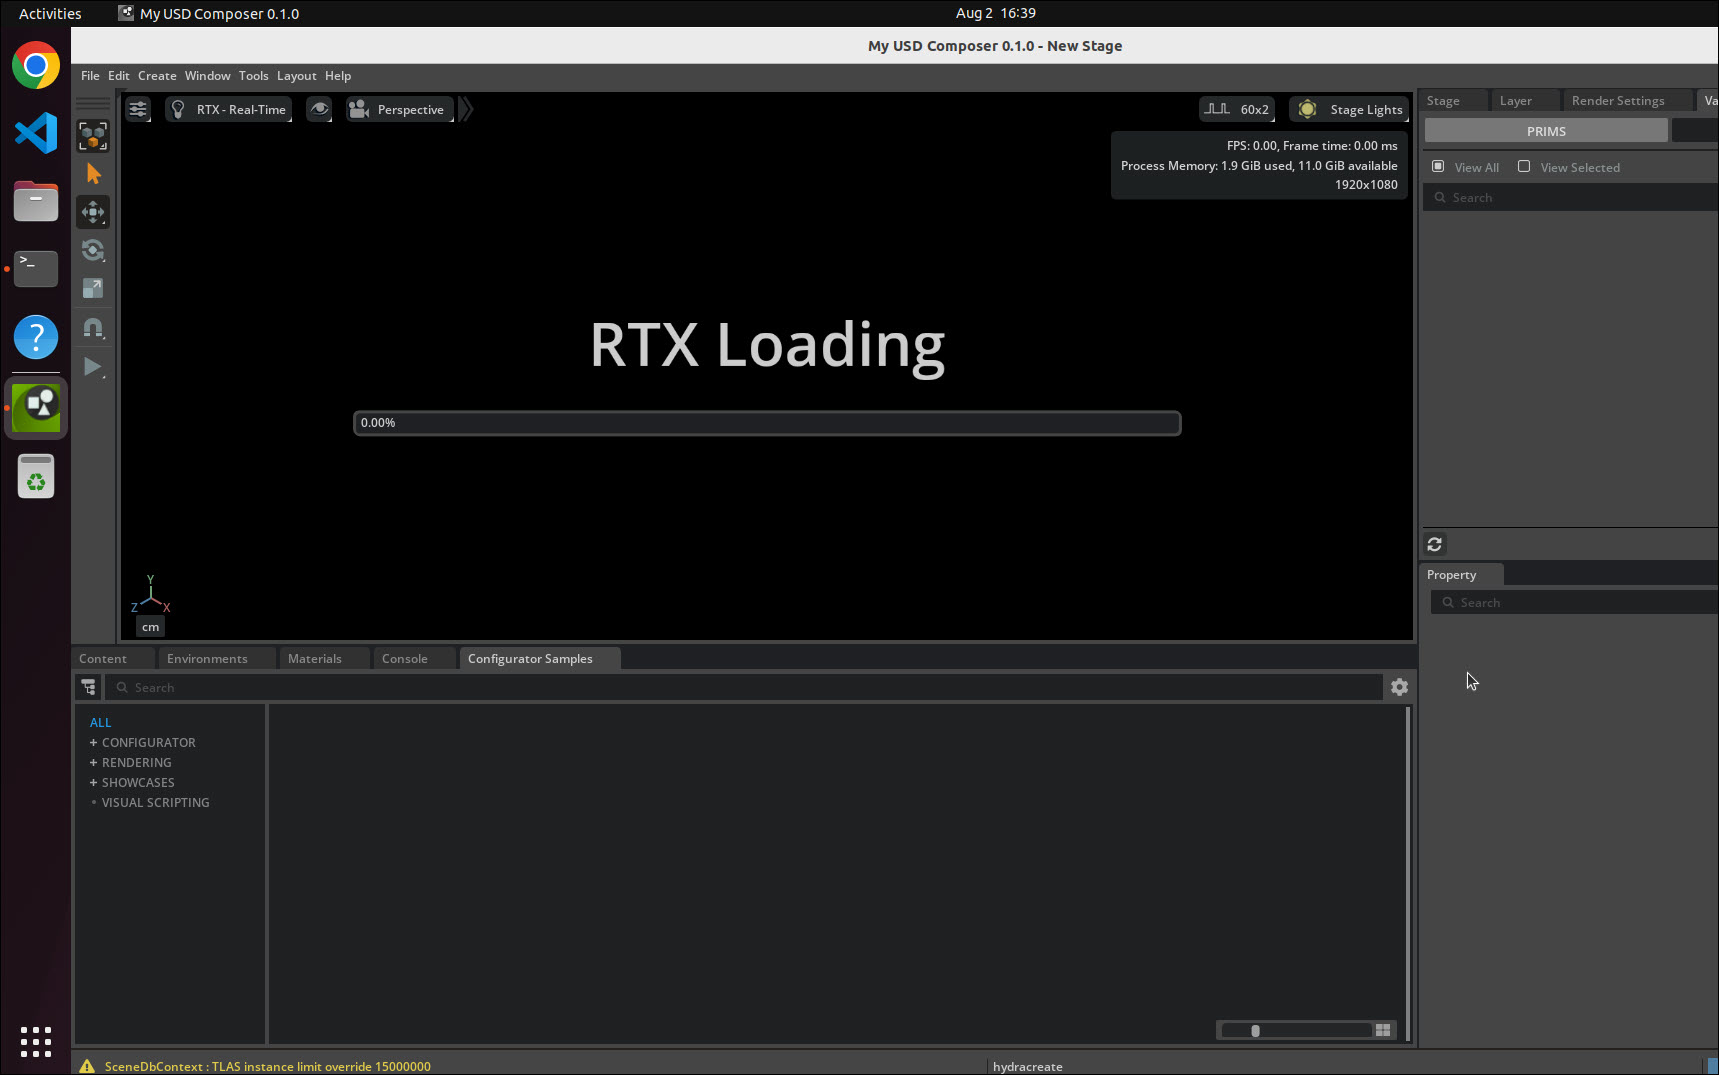
You might see warnings indicating that the app is not responding. This is expected—please be patient, as the process may take several minutes to complete
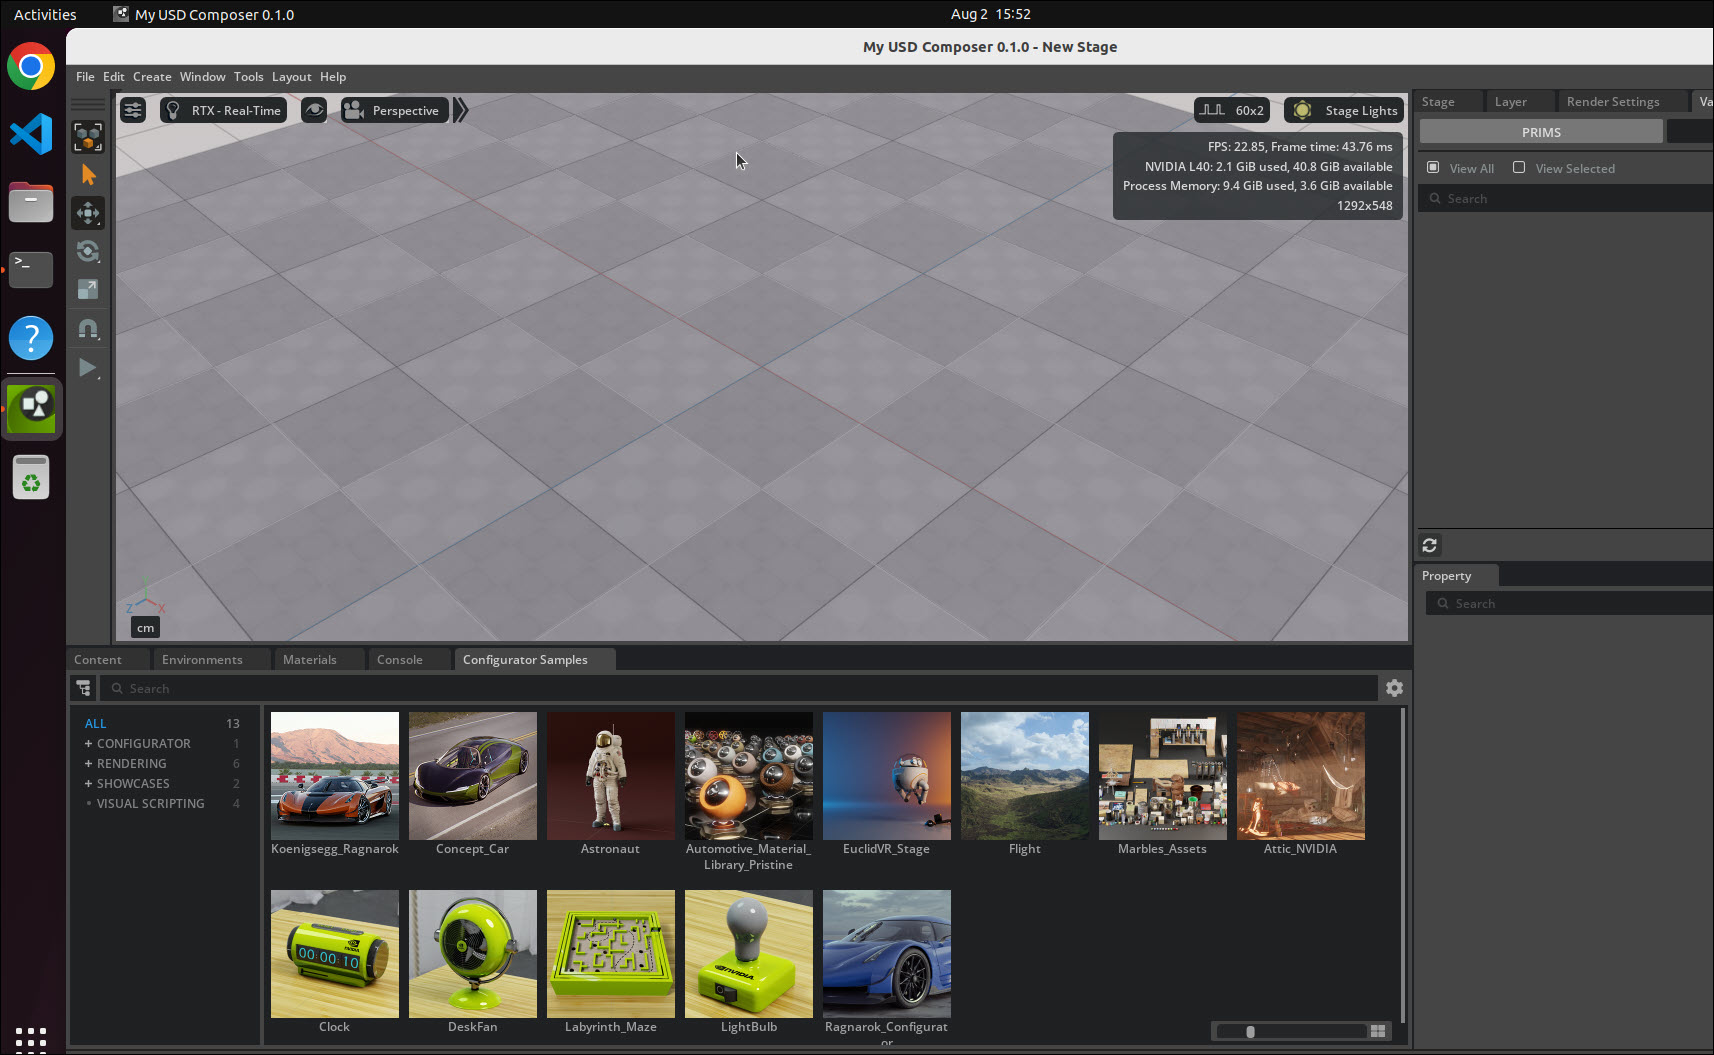
The Kit app should launch and present the application interfaces similar to the following:
Build the Container#
Close the Kit app and use the following Kit App Template script to create the container:
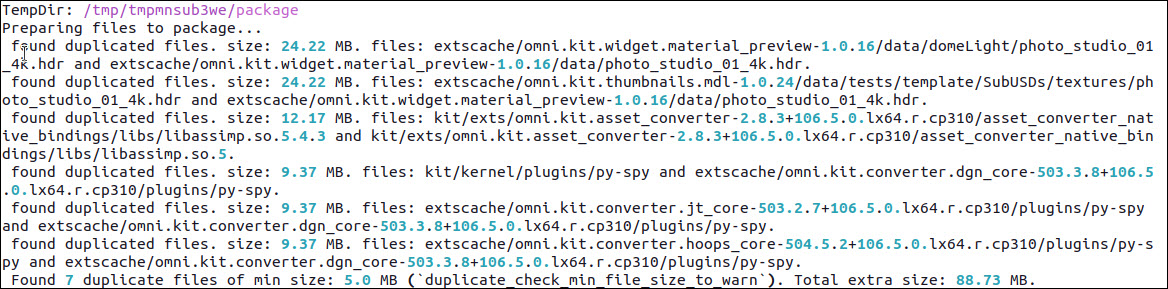
./repo.sh package --container
Use the down arrow to select my_company_my_usd_composer_ovc.kit as the file, then press Enter. This may take several minutes to complete:

After this step is complete, invoke the docker image ls command and you should see the Omniverse Kit Application in the container registry:

Conclusion#
Congratulations! You have successfully completed the containerization process for your Omniverse Kit Application. Here’s a summary of what you accomplished:
You created a new Omniverse Kit Application using the supported SDK (version 106.5.5+) and app templates
Configured the application with the correct streaming extensions for Omniverse on DGX Cloud deployment
Built and validated the application locally
Containerized the application for cloud deployment via NVCF
For deployment instructions, refer to the NVCF Deployment documentation.