Cache on Workstation#
Important
Omniverse Cache on Workstation will be deprecated on October 1, 2025. Please refer to Hub Workstation Cache for more information on alternative options.
General Notes#
If any changes are made to cache settings, you may have to restart any applications using cache for the changes to take effect.
Manage Cache with System Monitor#
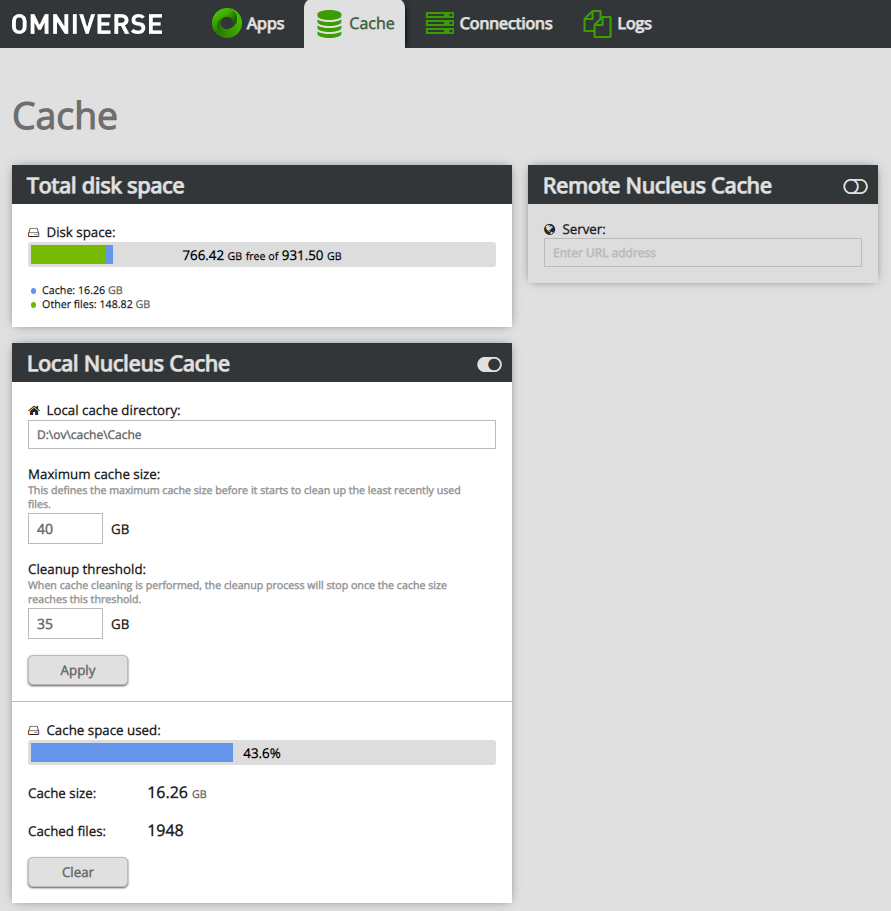
Omniverse Cache can be managed through System Monitor. You can enable/disable cache, change the cache location on your workstation, clear cache, and configure your workstation to use a remote Cache.
To access this configuration:
Within Omniverse Launcher, click the Library tab, click Cache, and then click Cache Settings
Alternatively, open
http://localhost:3080/cachein a local web browser
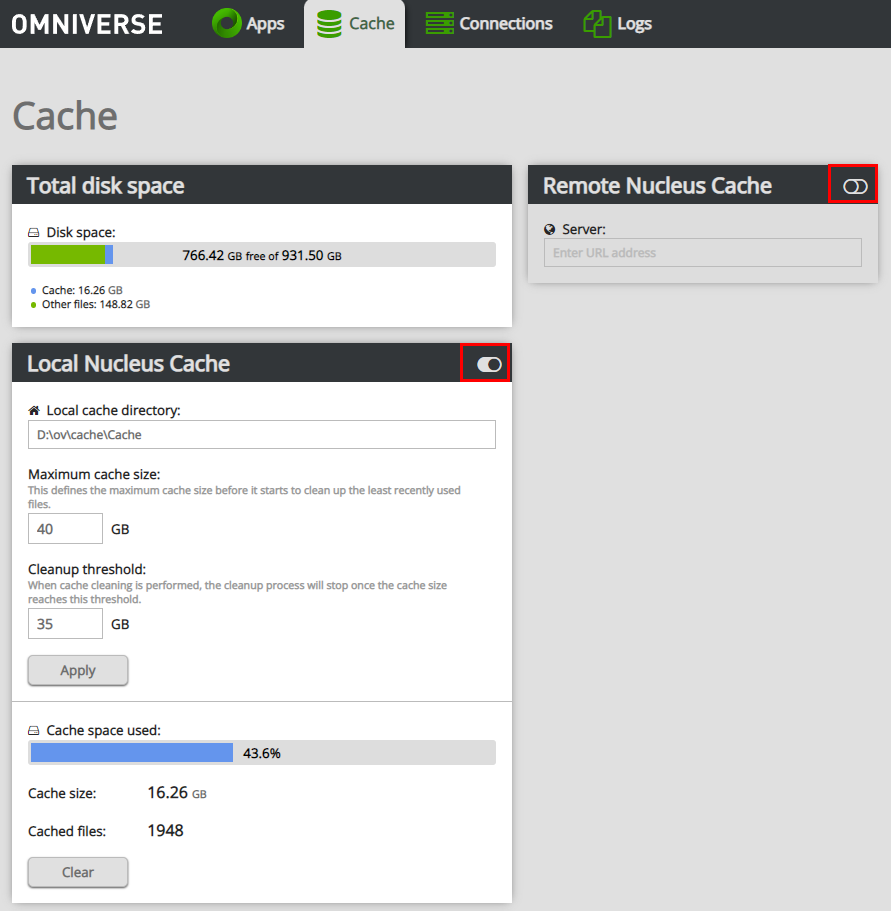
Local and remote Cache can be enabled or disabled using these switches:
The local cache service can also be started and stopped from the Apps page.
Cache Cleaner Service#
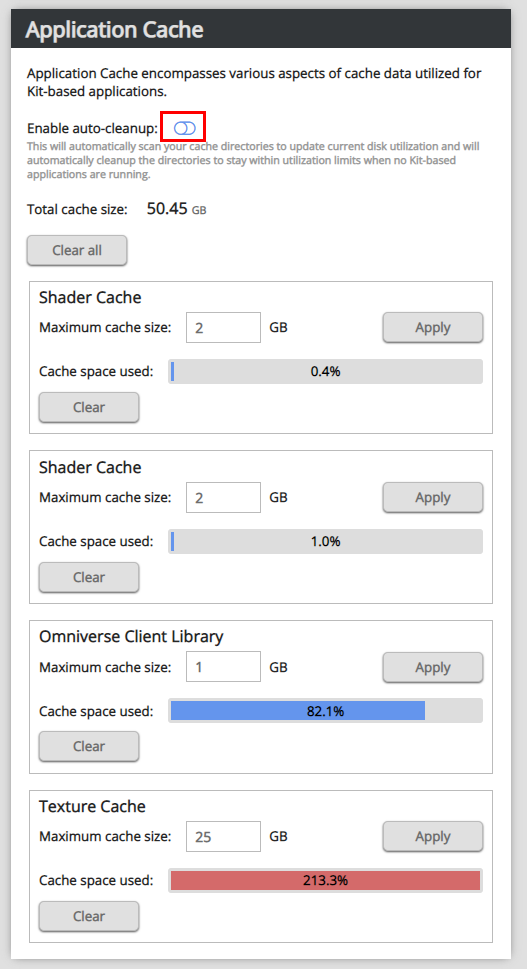
The Cache Cleaner service is designed to help manage and clean up your cache from Kit-based applications in the background. You can adjust the default cache allocation to allow for more or less data to be stored on your workstation.
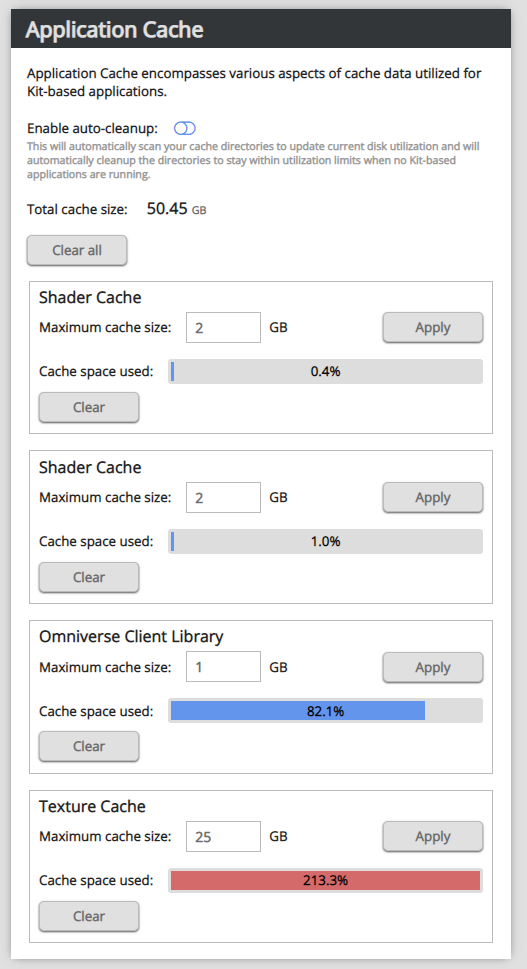
It is disabled by default, but can be enabled by activating the switch. The service will only run when you have no Kit-based apps running.
Remote Cache#
In addition to using your local cache, which should always be installed and enabled, you can configure your client to point to a remote/upstream Cache.
For best results, whether connecting to a remote Cache on your local network or by VPN, always choose a remote Cache that is closest to your geographical location to minimize network latency.
To connect to a remote Cache:
Enable Remote Cache by activating the switch within the interface
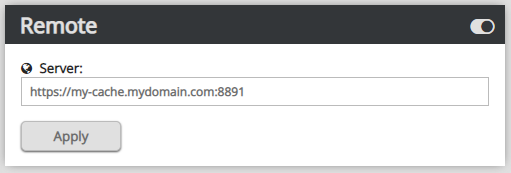
Entering the hostname and port number for the remote Cache and click Apply. (i.e.,
http://my.remote.cache.instance.com:8891)
Restart your applications to ensure that they are using the new configuration.
Important
If the remote Cache is SSL-enabled, ensure that https:// is used when specifying the address.
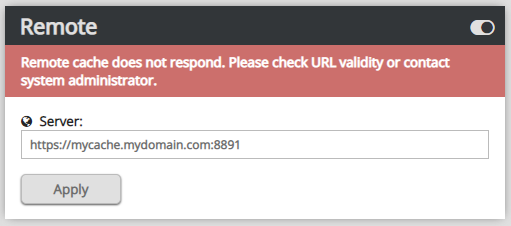
If the remote Cache cannot be reached, the following message will appear:
If this message appears, contact your Nucleus server administrator for assistance.
Cache Configuration and Ports#
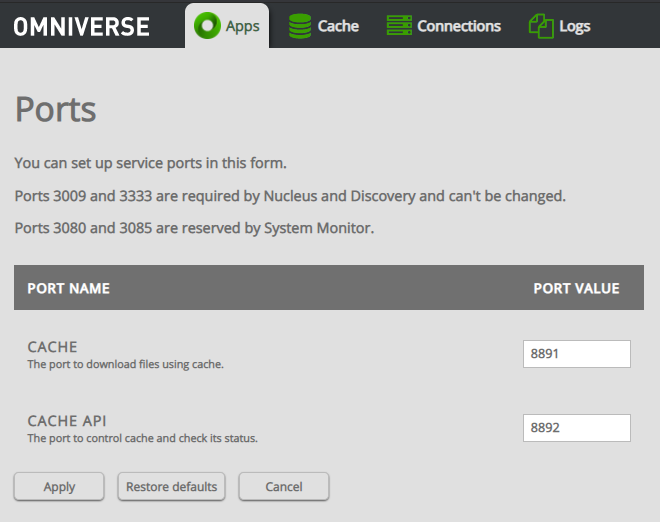
Cache uses TCP Ports 8891 and 8892 by default, but can be customized.
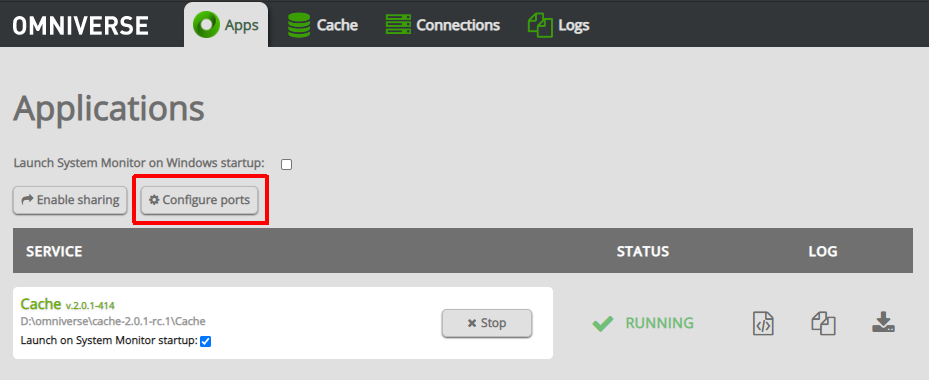
Ports can be changed in System Monitor. Click Configure Ports:
This page will appear:
Change port number preferences as needed and click Apply.
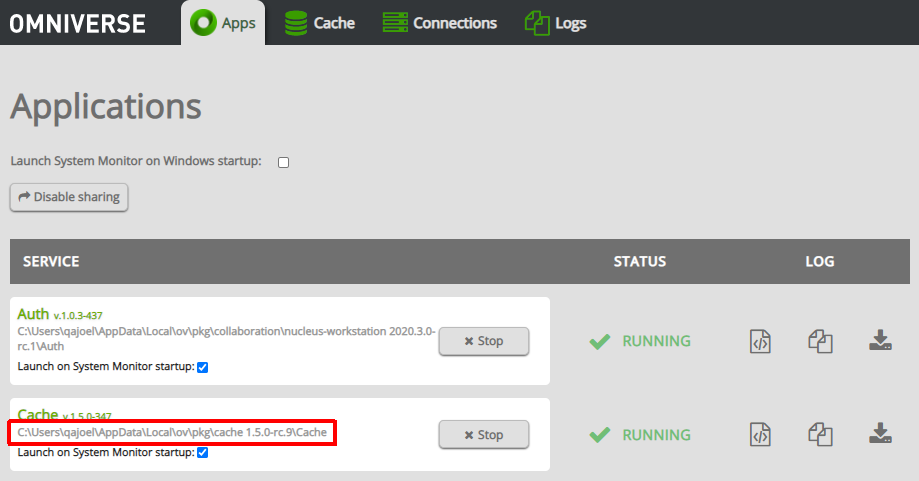
Cache configuration files are located in the same directory as the cache executable. The location can be found by looking at the directory under Cache in the Application page.
