Usage Instructions#
Installation#
From within the Omniverse Launcher, click the Exchange tab. In the search box, type Omniverse Drive and press ENTER.
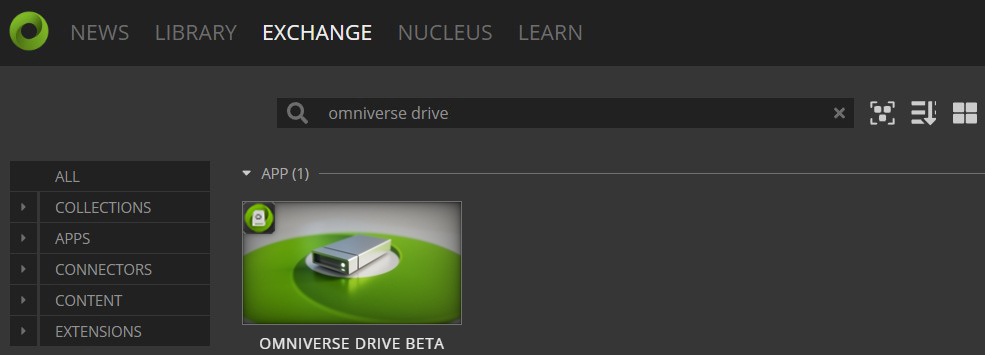
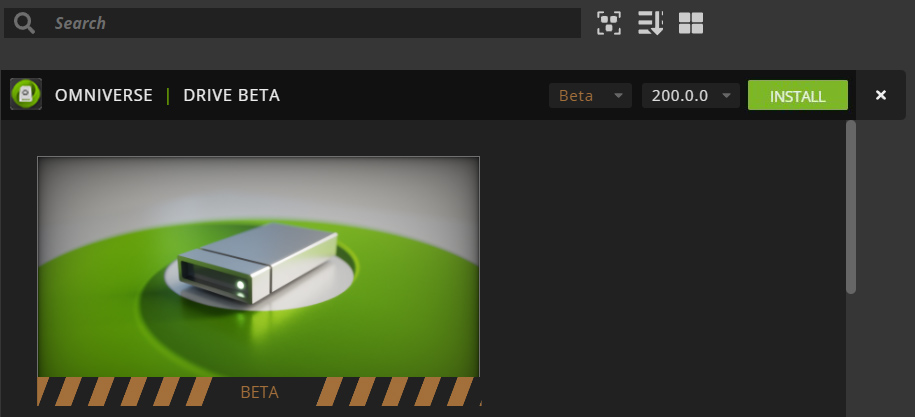
Click the application tile which will present the option to install the application. Click install.
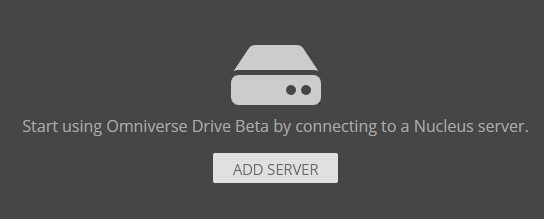
Once Omniverse Drive is installed, it will appear under the File Management area within the Launcher. Click it and the option to Add Server will appear.
Configuration#
To connect Omniverse Drive to a Nucleus server, click Add Server. The Add Server interface will appear:
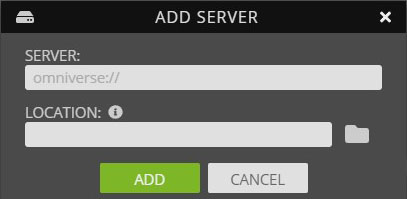
Within the Server field, enter in the Host Name or IP Address of the Nucleus server you want to connect to.
Click the folder icon under Location to launch the Windows File Explorer and choose the directory that you would like the use as the mount for your Nucleus data. (If the folder does not exist, create one using the Windows File Explorer.)
Warning
Any directory used with Omniverse Drive must be empty.
Click Add.
As part of this process, you may be asked to re-authenticate to your Nucleus server. Once you are connected to your Nucleus instance, you will see the following within the user interface:

Launching Windows File Explorer, will show the following:
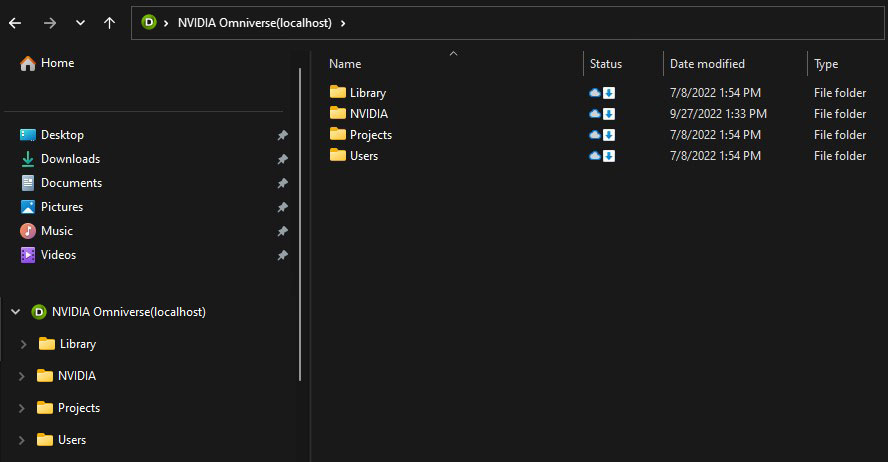
Icon Legend#
Icon |
Description |
|---|---|
|
(Left Icon) Files are present on the Nucleus server |
|
(Left Icon) Files are syncing |
|
(Left Icon) Files are set to always be on local - Updates will occur automatically |
|
(Left Icon) Files are downloaded locally, but won’t update until re-connection |
|
(Right Icon) Directory has not been viewed locally |
|
(Right Icon) Directory has been viewed locally |
|
(Right Icon) An error has occurred |
Additionally, an Omniverse Drive icon will appear in the system tray that allows you to view connected servers.
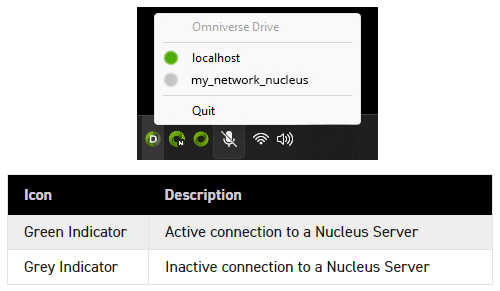
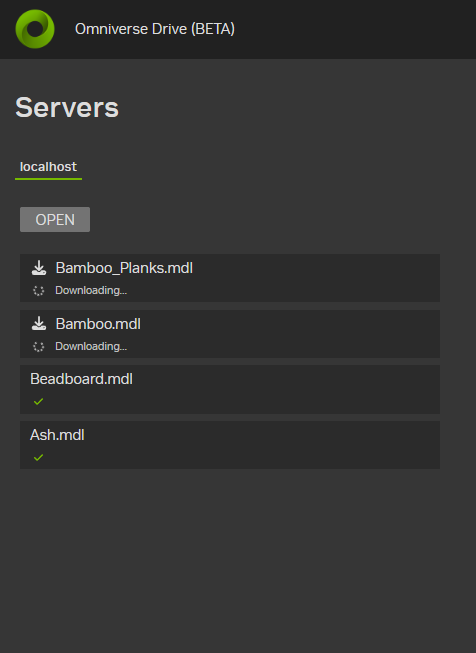
Clicking the server name from the system tray will open a web page displaying your upload, download, and completion queue.
Click Open to launch File Explorer to the root directory of that server.
Double-click the file to launch File Explorer to the path of that file.
Note
Omniverse Drive can connect to multiple Nucleus servers simultaneously using unique folders on your workstation.
To disconnect the Omniverse Drive connection from the Nucleus server and remove the data from your workstation’s local disk, click the trashcan icon.

Note
If you are using the IT Managed Launcher, contact your Omniverse administrator to have Omniverse Drive installed for you.
Warning
Files cannot be deleted from your Nucleus server using Omniverse Drive. This is to prevent data from being unintentionally deleted from a Nucleus server. The file will reappear unless it is deleted from the Nucleus server directly.


