Azure Private Endpoint Connection to Omniverse Cloud PaaS#
Overview#
Accessing Omniverse Cloud PaaS requires connectivity from your Azure infrastructure to Omniverse Cloud PaaS which is done through the use of an Azure Private Endpoint. The following documentation will walk you through all the steps needed to complete the configuration.
Creating an Azure Private Endpoint#
An Azure Private Endpoint is created using the Azure Portal. Log into the Azure Portal:
Click the Private endpoints icon:
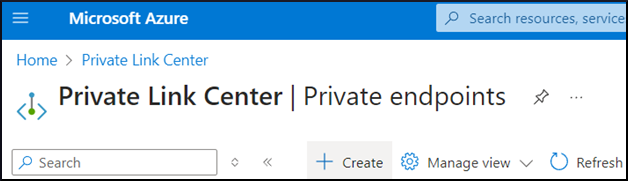
Click +Create to create a new Private Endpoint:
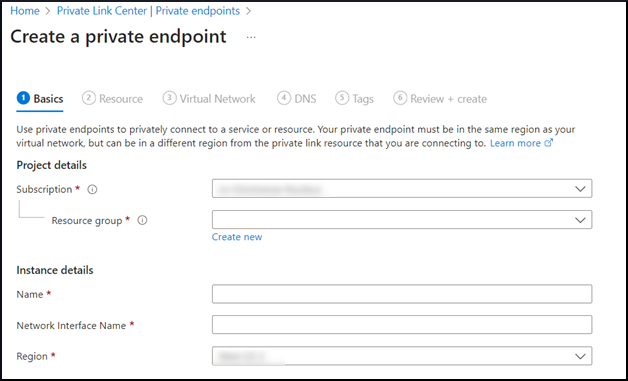
Basics Tab#
On the Basics tab, configure the following:
Project Details:
Choose the Subscription for this Private Endpoint.
Choose an existing Resource Group or create a new one.
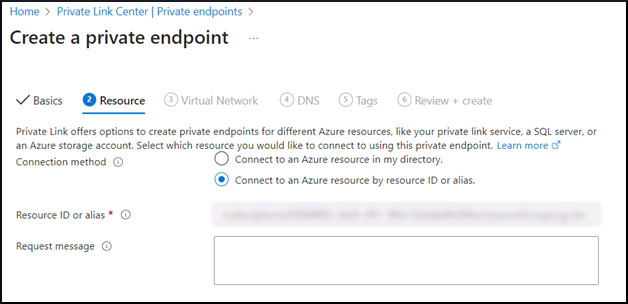
Resource Tab#
On the Resource tab, configure the following:
Enter the Resource ID provided by your NVIDIA technical contact.
The Resource ID is a long string that begins with
/, such as:/subscription/<UUID>/resourceGroups/<RG_NAME>/providers/Microsoft.Network/privateLinkServices/<PLS_NAME>The Request Message field will be seen by the NVIDIA OVC Technical Team to review and approve the Private Endpoint connection.
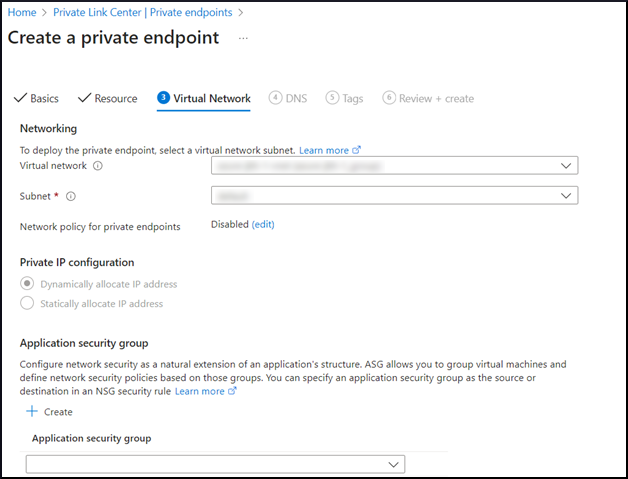
Virtual Network Tab#
Click the Virtual Network tab and configure the following:
Choose the VNet through which users will connect. This VNet will control which IP Address will be assigned to the Private Endpoint. It also is where the VPN endpoint will reside to allow external connectivity into the Private Endpoint.
The Private IP configuration has options:
Dynamically allocate an IP Address
Statically allocate an IP Address
Choose the preferred IP configuration based on your organization’s policy and/or requirements. The Dynamic option allows Azure to automatically pick an unused IP Address from the Virtual Network subnet. The Static option will require a static IP Address to be chosen and allocated to the Private Endpoint.
DNS Tab#
Do not configure DNS here. DNS settings are handled outside of the Private Endpoint configuration. Additional information about DNS is covered in the DNS section.
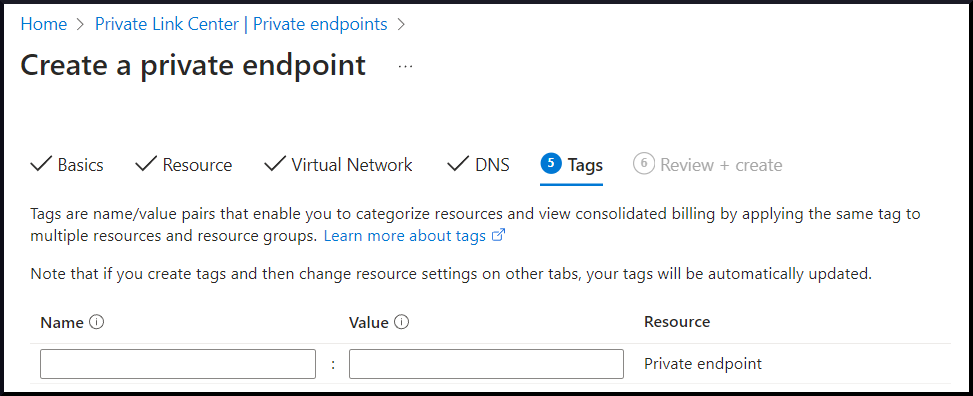
Tags Tab#
Click the Tags tab and configure the following:
Choose Tags as required based on your organization’s policy and/or requirements.
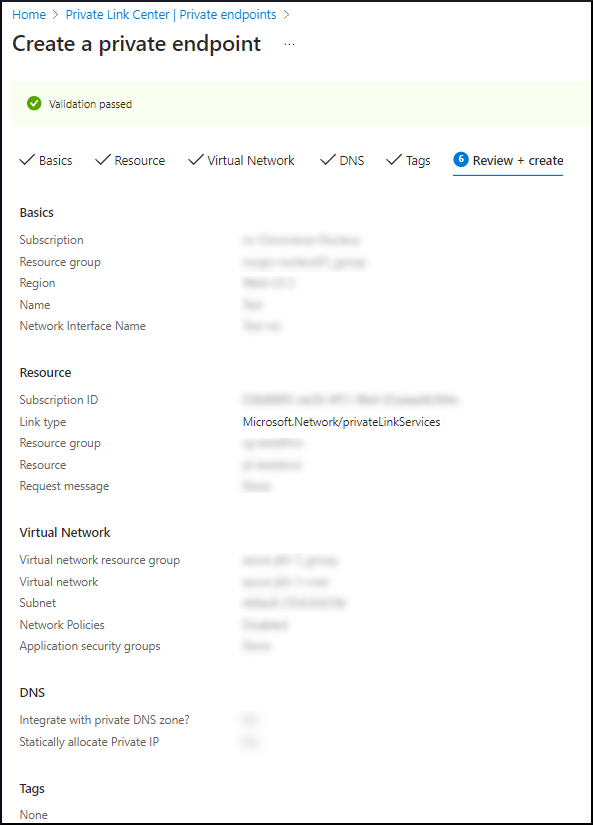
Review + Create Tab#
On the Review + Create tab, review all configurations before submitting the Private Endpoint request.
DNS#
The following DNS entries must be added to ensure connectivity to the Private Endpoint in the customer tenant within the Azure VNet. The primary DNS entry will be the URL that users will visit using their web browser to access the Omniverse Cloud PaaS Portal.
Note
The <OVC_TENANT_NAME> will be provided by NVIDIA during onboarding.
<OVC_TENANT_NAME>.cloud.omniverse.nvidia.com(Primary)streaming-client.<OVC_TENANT_NAME>.az.cloud.omniverse.nvidia.comcustomer.<OVC_TENANT_NAME>.az.cloud.omniverse.nvidia.compublic-api.<OVC_TENANT_NAME>.az.cloud.omniverse.nvidia.comexternal.<OVC_TENANT_NAME>.az.cloud.omniverse.nvidia.comstore.<OVC_TENANT_NAME>.az.cloud.omniverse.nvidia.comfarm-services.<OVC_TENANT_NAME>.az.cloud.omniverse.nvidia.comapi.<OVC_TENANT_NAME>.az.cloud.omniverse.nvidia.com
Creating a VPN Gateway Virtual Machine (OpenVPN)#
Note
Creating a VPN Gateway Virtual Machine is optional.
Using a VPN Gateway Virtual Machine in Azure allows users access to the Azure VNet from their local computer through a VPN connection.
Note
This is only needed if direct access (i.e., Azure ExpressRoute) to the Azure VNet is NOT available. Additional connection types may be available depending on your infrastructure architecture.
Log into the Azure Portal, then follow the steps below:
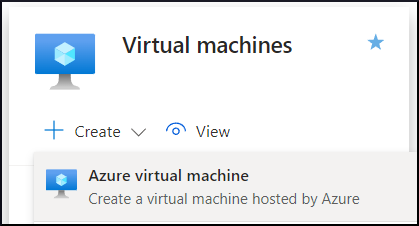
Click the Virtual Machines icon:

Click Create, then click Azure virtual machine:
When choosing the virtual machine parameters, select the appropriate Subscription, Resource group, Region, and Security type. Choose the appropriate Virtual Machine size based on expected simultaneous connections. Ubuntu Linux 22.04 or greater is required for the steps below.
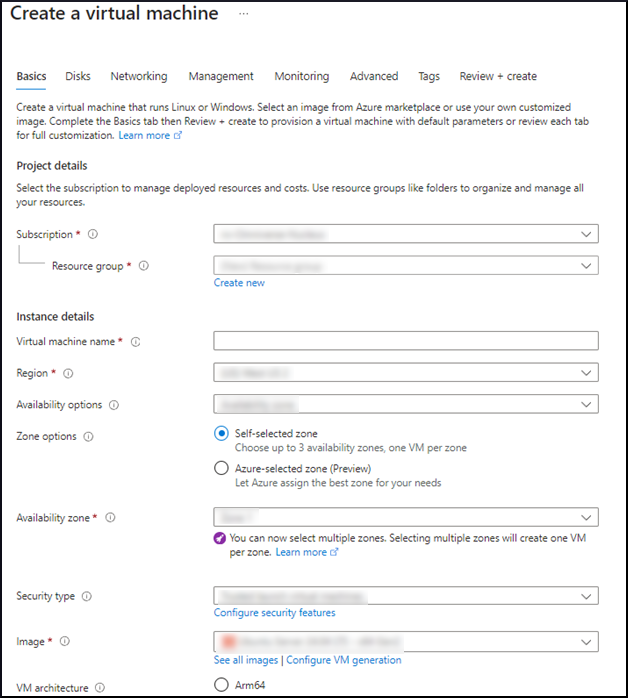
Click the authentication type and complete the account information based on your organization’s policy and/or requirements.
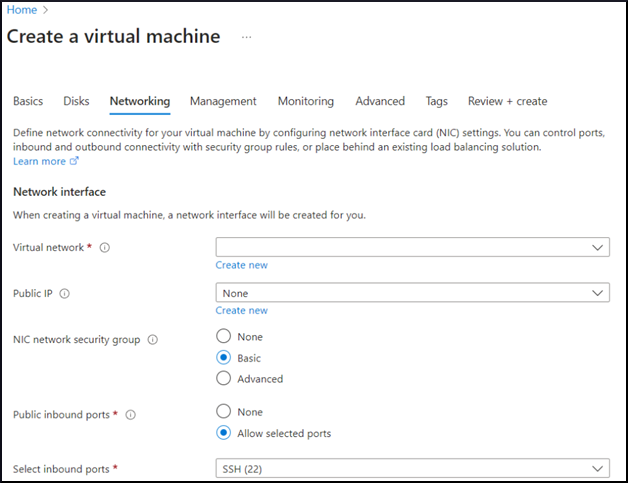
Advance to the Networking tab, set up your subnet, and choose to create a new or use an existing public IP Address and allow SSH (TCP 22) on the Azure firewall.
Note
As a best security practice, consider restricting access to this port to ONLY trusted networks.
Configure any additional options as needed based on your organization’s policy and/or requirements. Click Review + create and review the Virtual Machine parameters. Once verified, click Create to build the Virtual Machine.
Once the Virtual Machine is built, view the Virtual Machines dashboard and locate it within the list. In the interface below, make note of the Public IP Address.

Connect using SSH to the Virtual Machine using the Public IP Address and using the appropriate credentials.
Once signed in, run the following commands within the terminal:
sudo apt update
sudo apt install curl openvpn
sudo curl -O  https://raw.githubusercontent.com/angristan/openvpn-install/master/openvpn-install.sh
sudo chmod +x openvpn-install.sh
sudo ./openvpn-install.sh
As the installation script runs, accept the default choices, but verify the auto-detected private and public IP Addresses. Create a user when you are prompted to do so during the installation. You can create additional users by launching
./openvpn-install.shagain after installation is complete.Edit
/etc/openvpn/server.confClick non-overlapping subnet in
server 10.8.0.0 255.255.255.0clause (if needed.)Add a
push "route 10.26.0.0 255.255.0.0"statement that corresponds to your Virtual Machine’s subnet. This command is required to push that route to the client PCs.Restart the OpenVPN service using this command:
sudo systemctl restart openvpn@server.serviceGather the
\*.ovpnfiles from your home directory and distribute them as appropriate to your users.Click Inbound port rule from the + Create port rule drop-down list and enter the options listed below:
Name: AllowOVPN
Port Number: 1194
Protocol: UDP
Source: Any
Destination: Any
Action: Allow

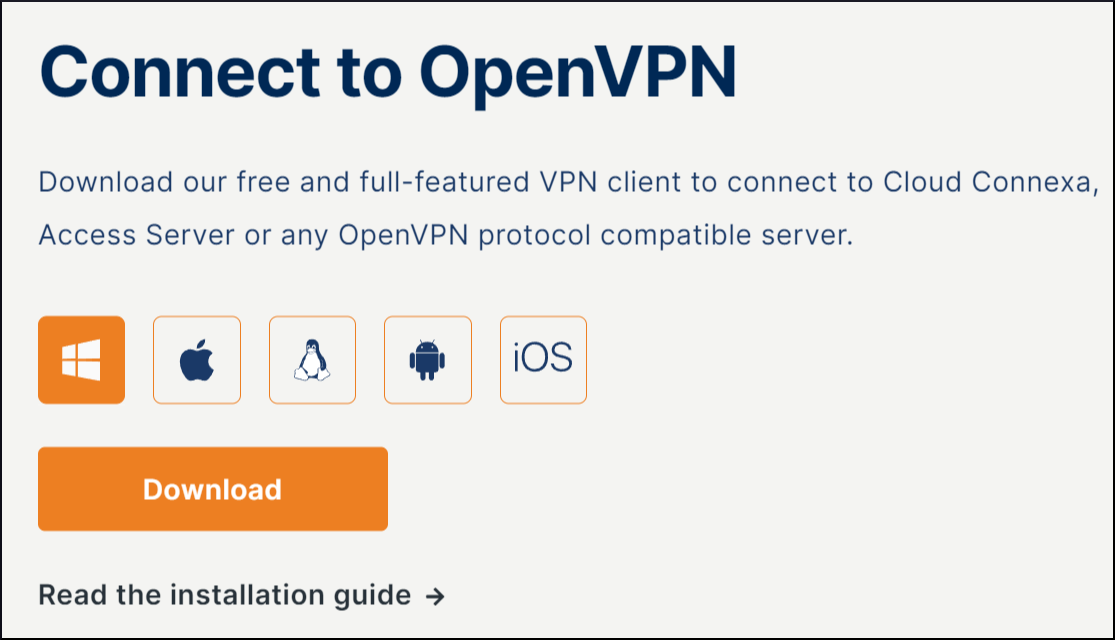
Visit OpenVPN and download and install the OpenVPN client software on your workstation.
Within the client, click Upload File and use the interface to import the profile gathered earlier and then click Connect.
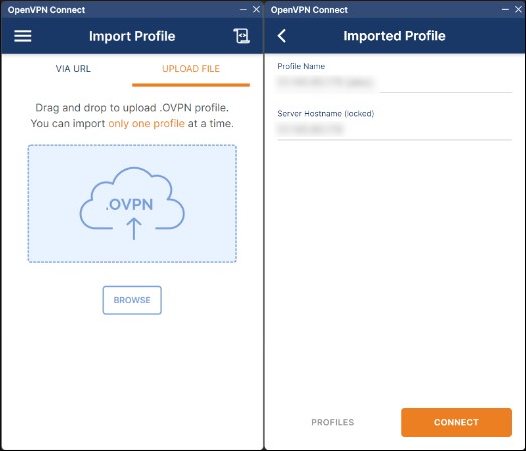
Confirm the VPN and server IP Addresses. Ensure that they match the configurations set in a prior step.
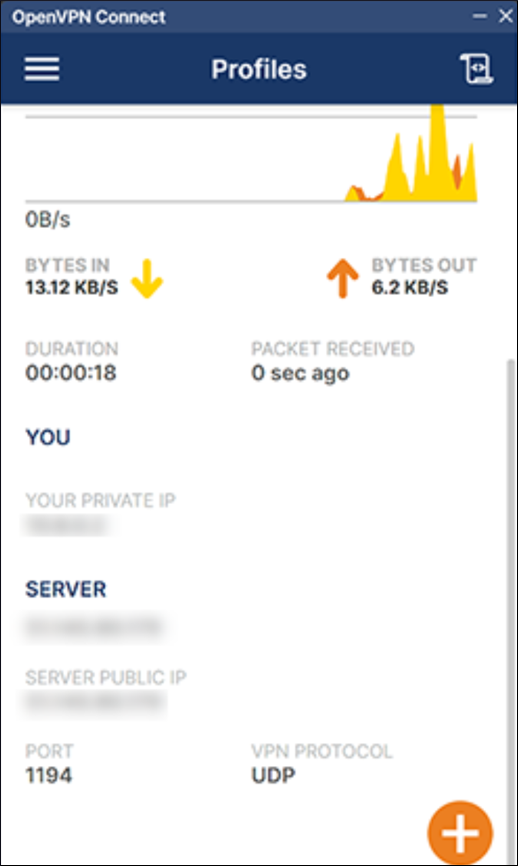
You should now be able to access Omniverse Cloud PaaS resources from this workstation.